Hey, folks! I’ve got a new project for you to try out! It is super simple, completely unique, and makes great use of an item you probably get and have no idea how to recycle it: Amazon mailers!
Those plastic, bubble wrap lined, envelopes that Amazon ships most orders out in make for really odd things to recycle. They are a weird plasticy stuff that isn’t really like regular milk jugs you recycle. However, they make great linings for these sweet little book bags! They are stiff and hold their structure, but this also means they will protect your books if you lean the bag on something wet.

Start out by picking what you want to cover your bag with. I found this dress and belt at the thrift shop for a total $2.50. The maxi dress I will get a few projects from, so you may see it again. The belt I immediately knew I wanted to use as a handle. I have been collecting these mailers for months now to try this out, so I was prepared. I paired these two together because they both have the black stripes lined with white.
Trim the top of the mailer to the height you want. Remember that we will box out the bottom, so it will lose a little height from that. Keep that in mind when trimming. If you are keeping the bag for yourself, you don’t really need to bother with the address label. I plan to sell mine at craft fairs, so I pulled it off. It was still sticky, but that won’t affect much.
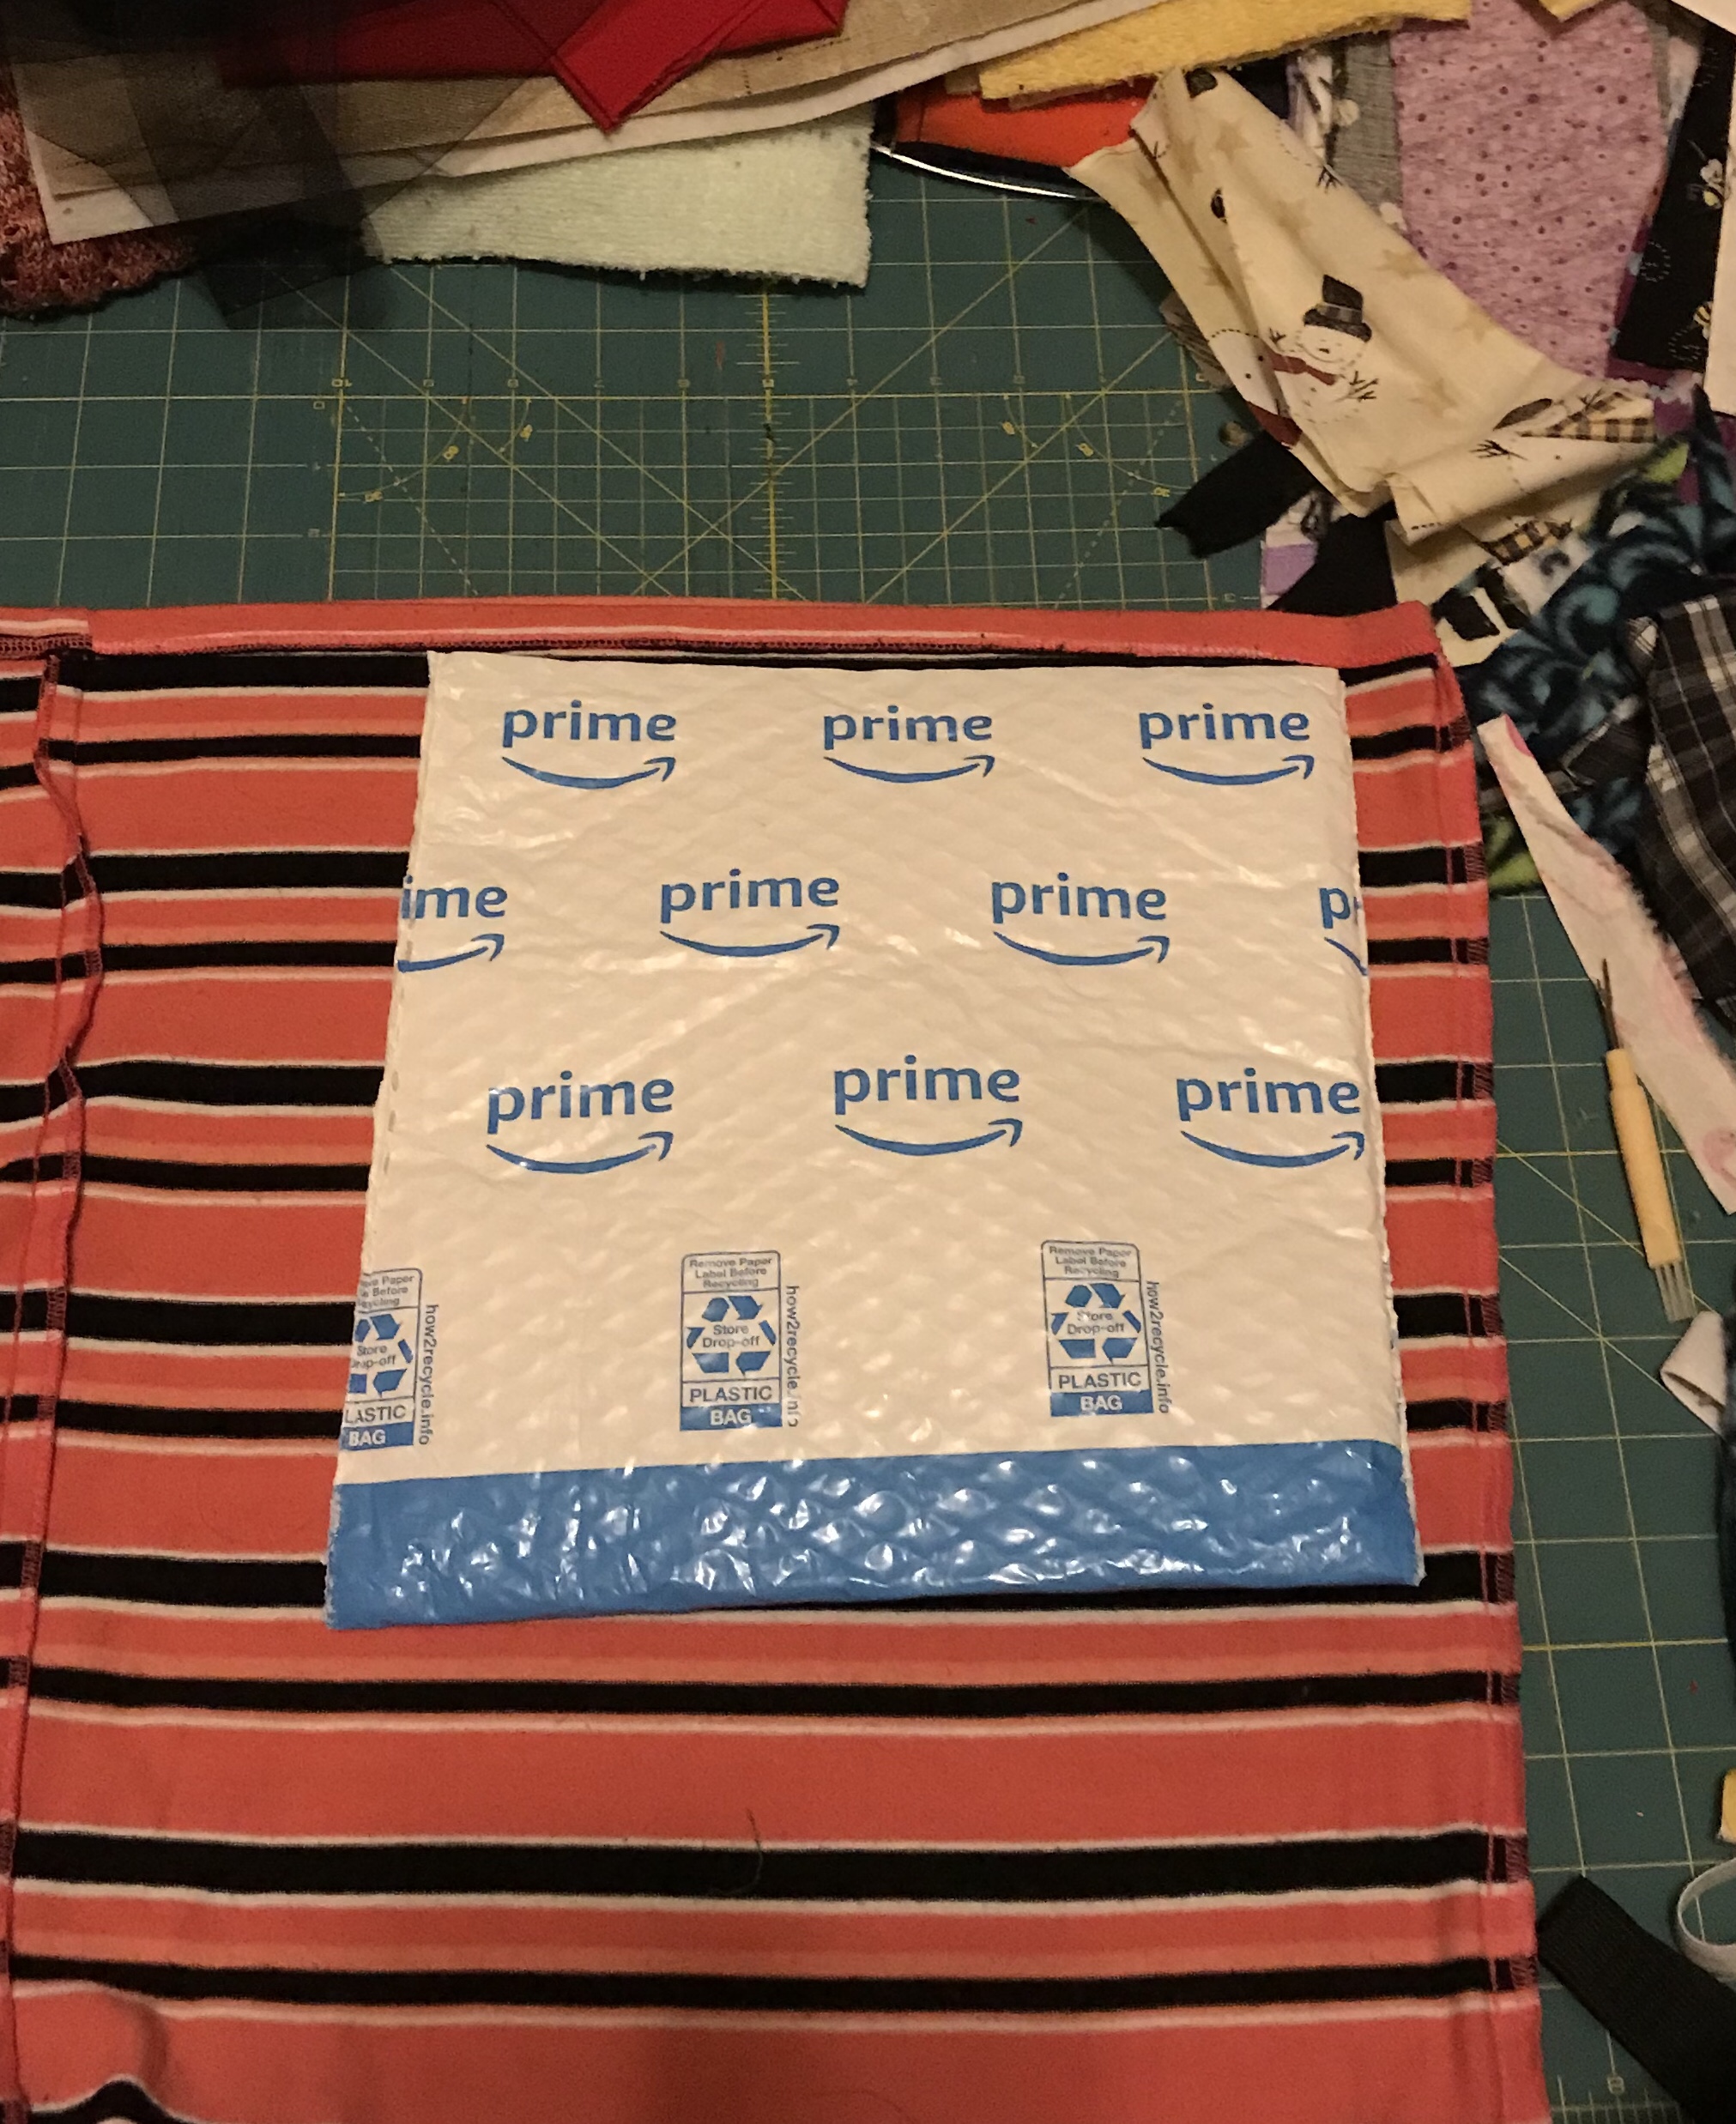
Flip your garment inside out. I’m going to use the bottom hem of the dress to roll over the top edge of the bag. If you don’t have a finished edge on your fabric, you will want to do that before you start. Just fold over 1/4” of the fabric twice to create a nice hem line and use a straight stitch to hold it. Line the mailer up so the top opening meets the inside edge of the hem line. You will be folding the sewn hem over the edge of the mailer later on to cover the exposed edge of the bubble wrap.
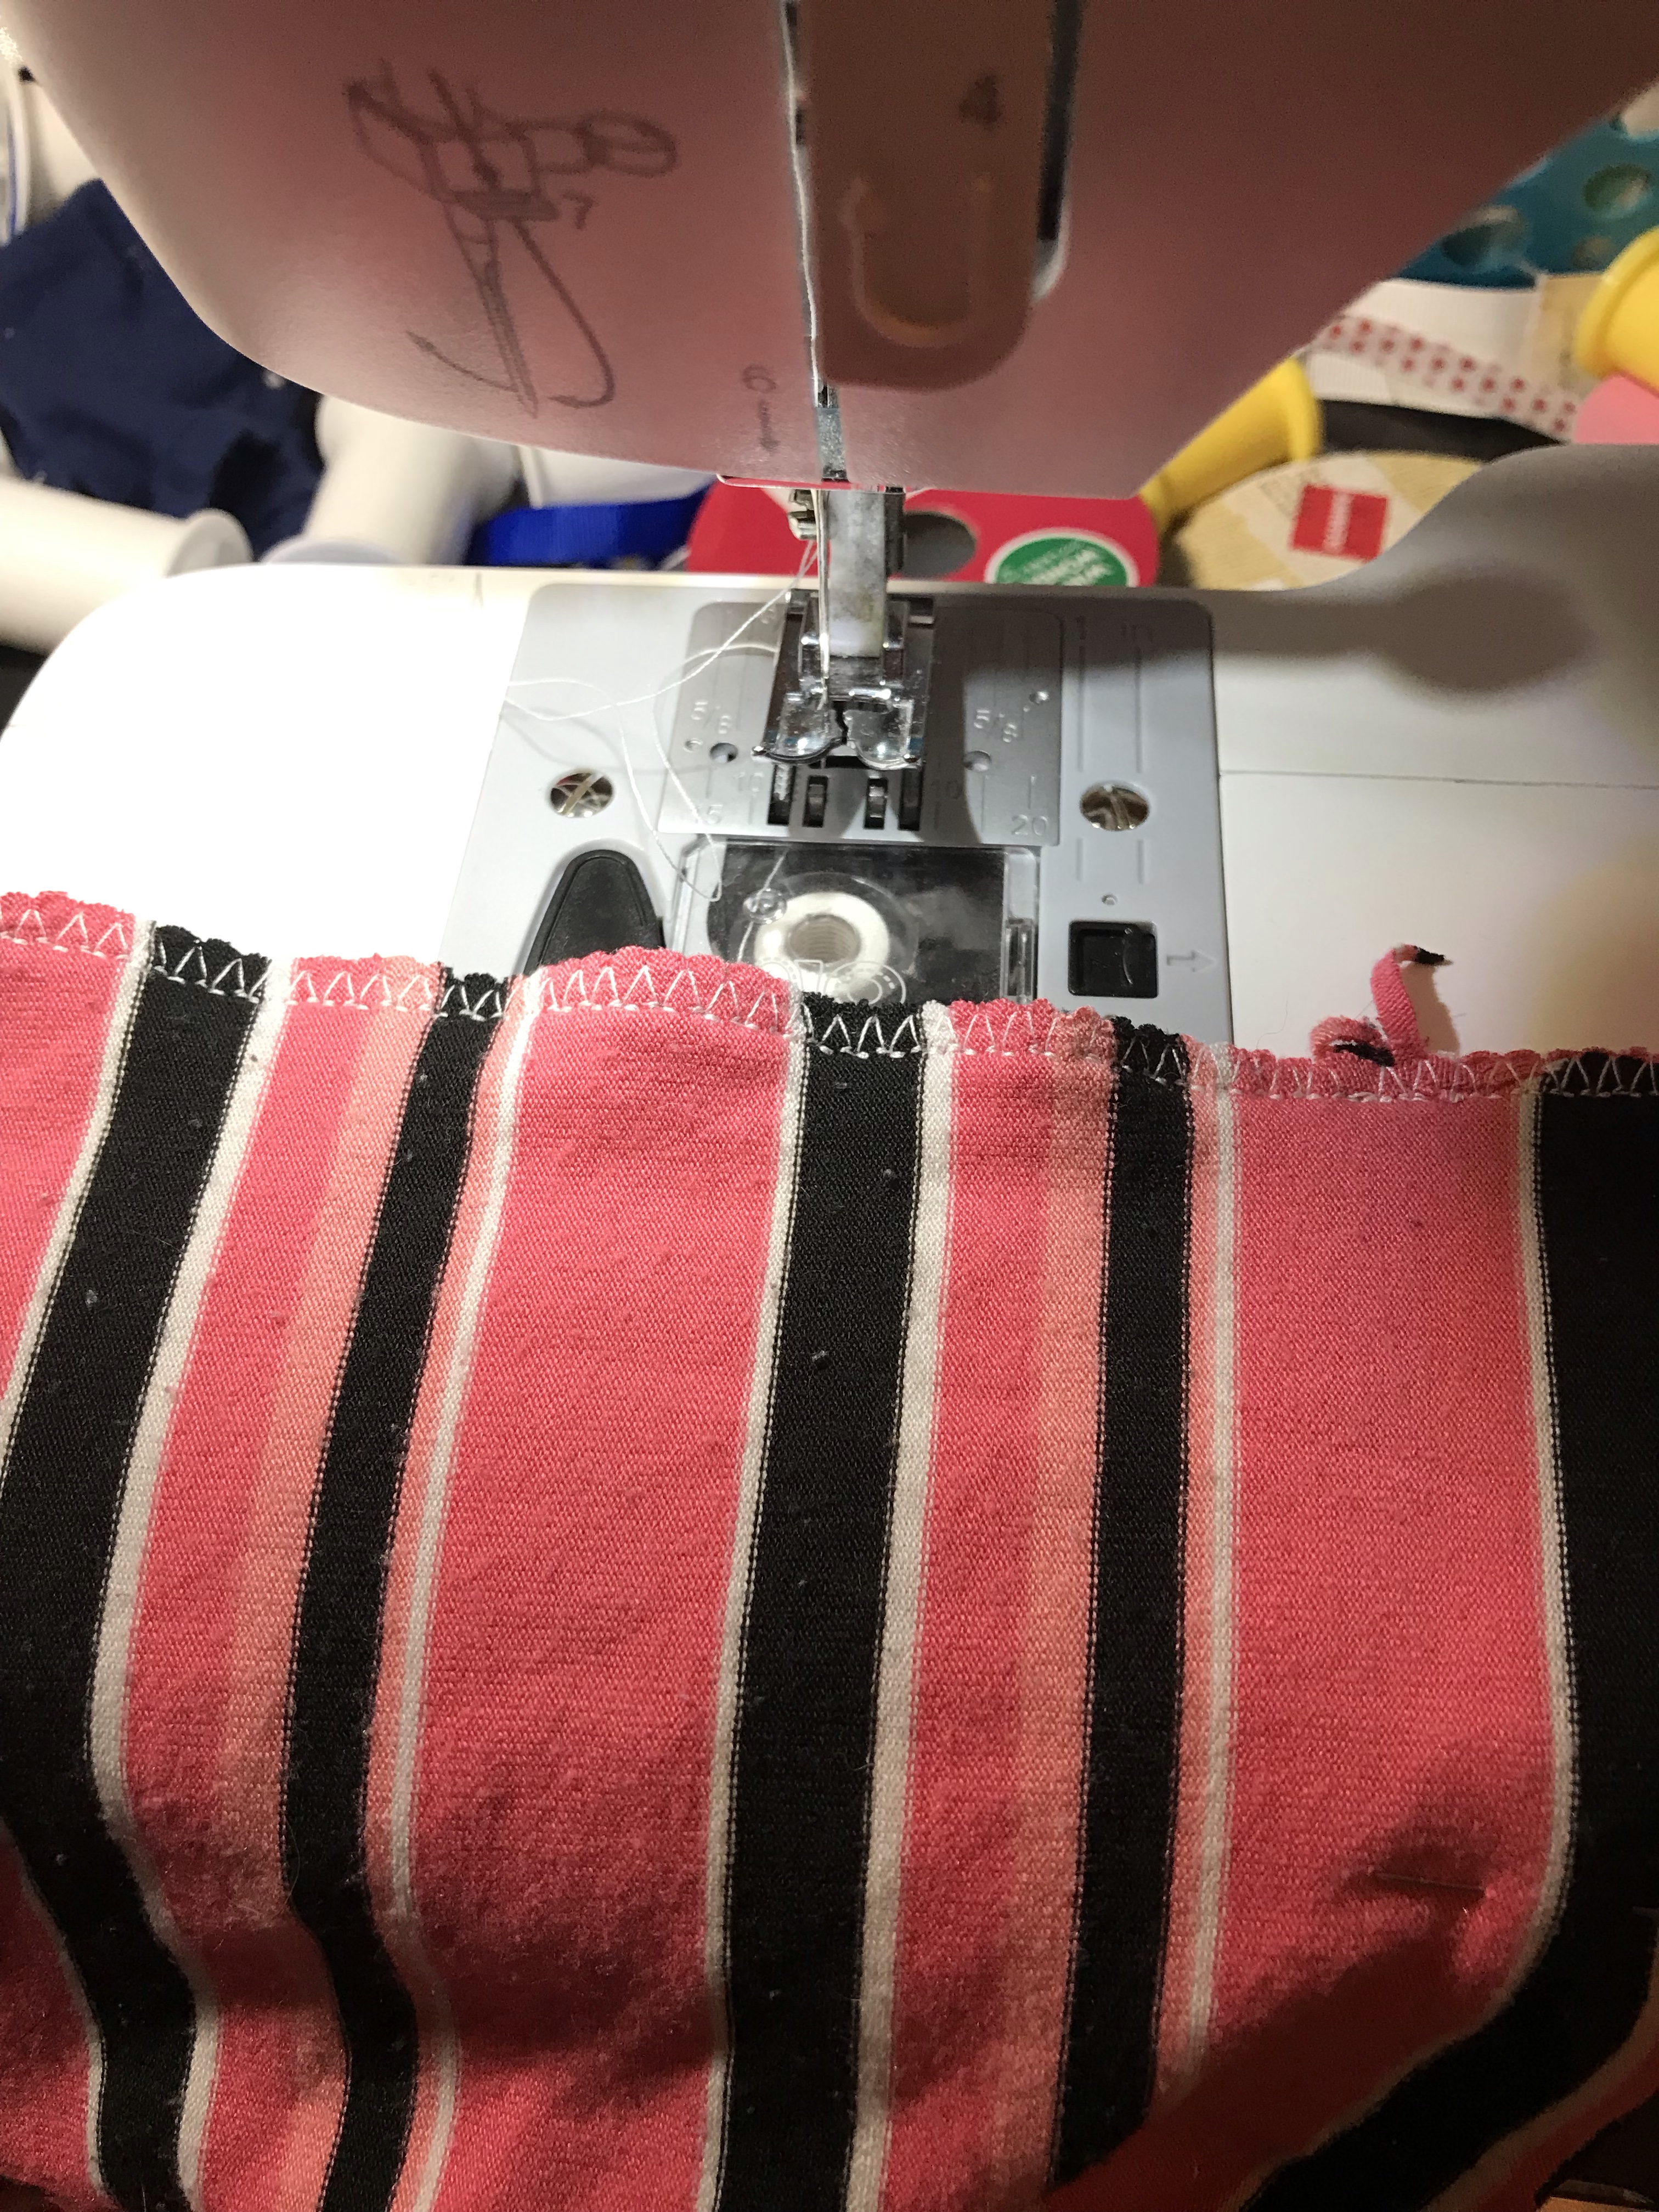
I cut the fabric really close to the mailer. I use a stitch I call a fake serger stitch. I don’t remember what it is actually called (I’ll have a close up of it soon), but using this stitch means I don’t have to roll over the edges and measure out more fabric and make hems, etc, etc. so I keep it close. This maxi dress is also that soft knit fabric, so keeping it close to the mailer means it will hug the mailer and the fabric won’t move around on the finished project.
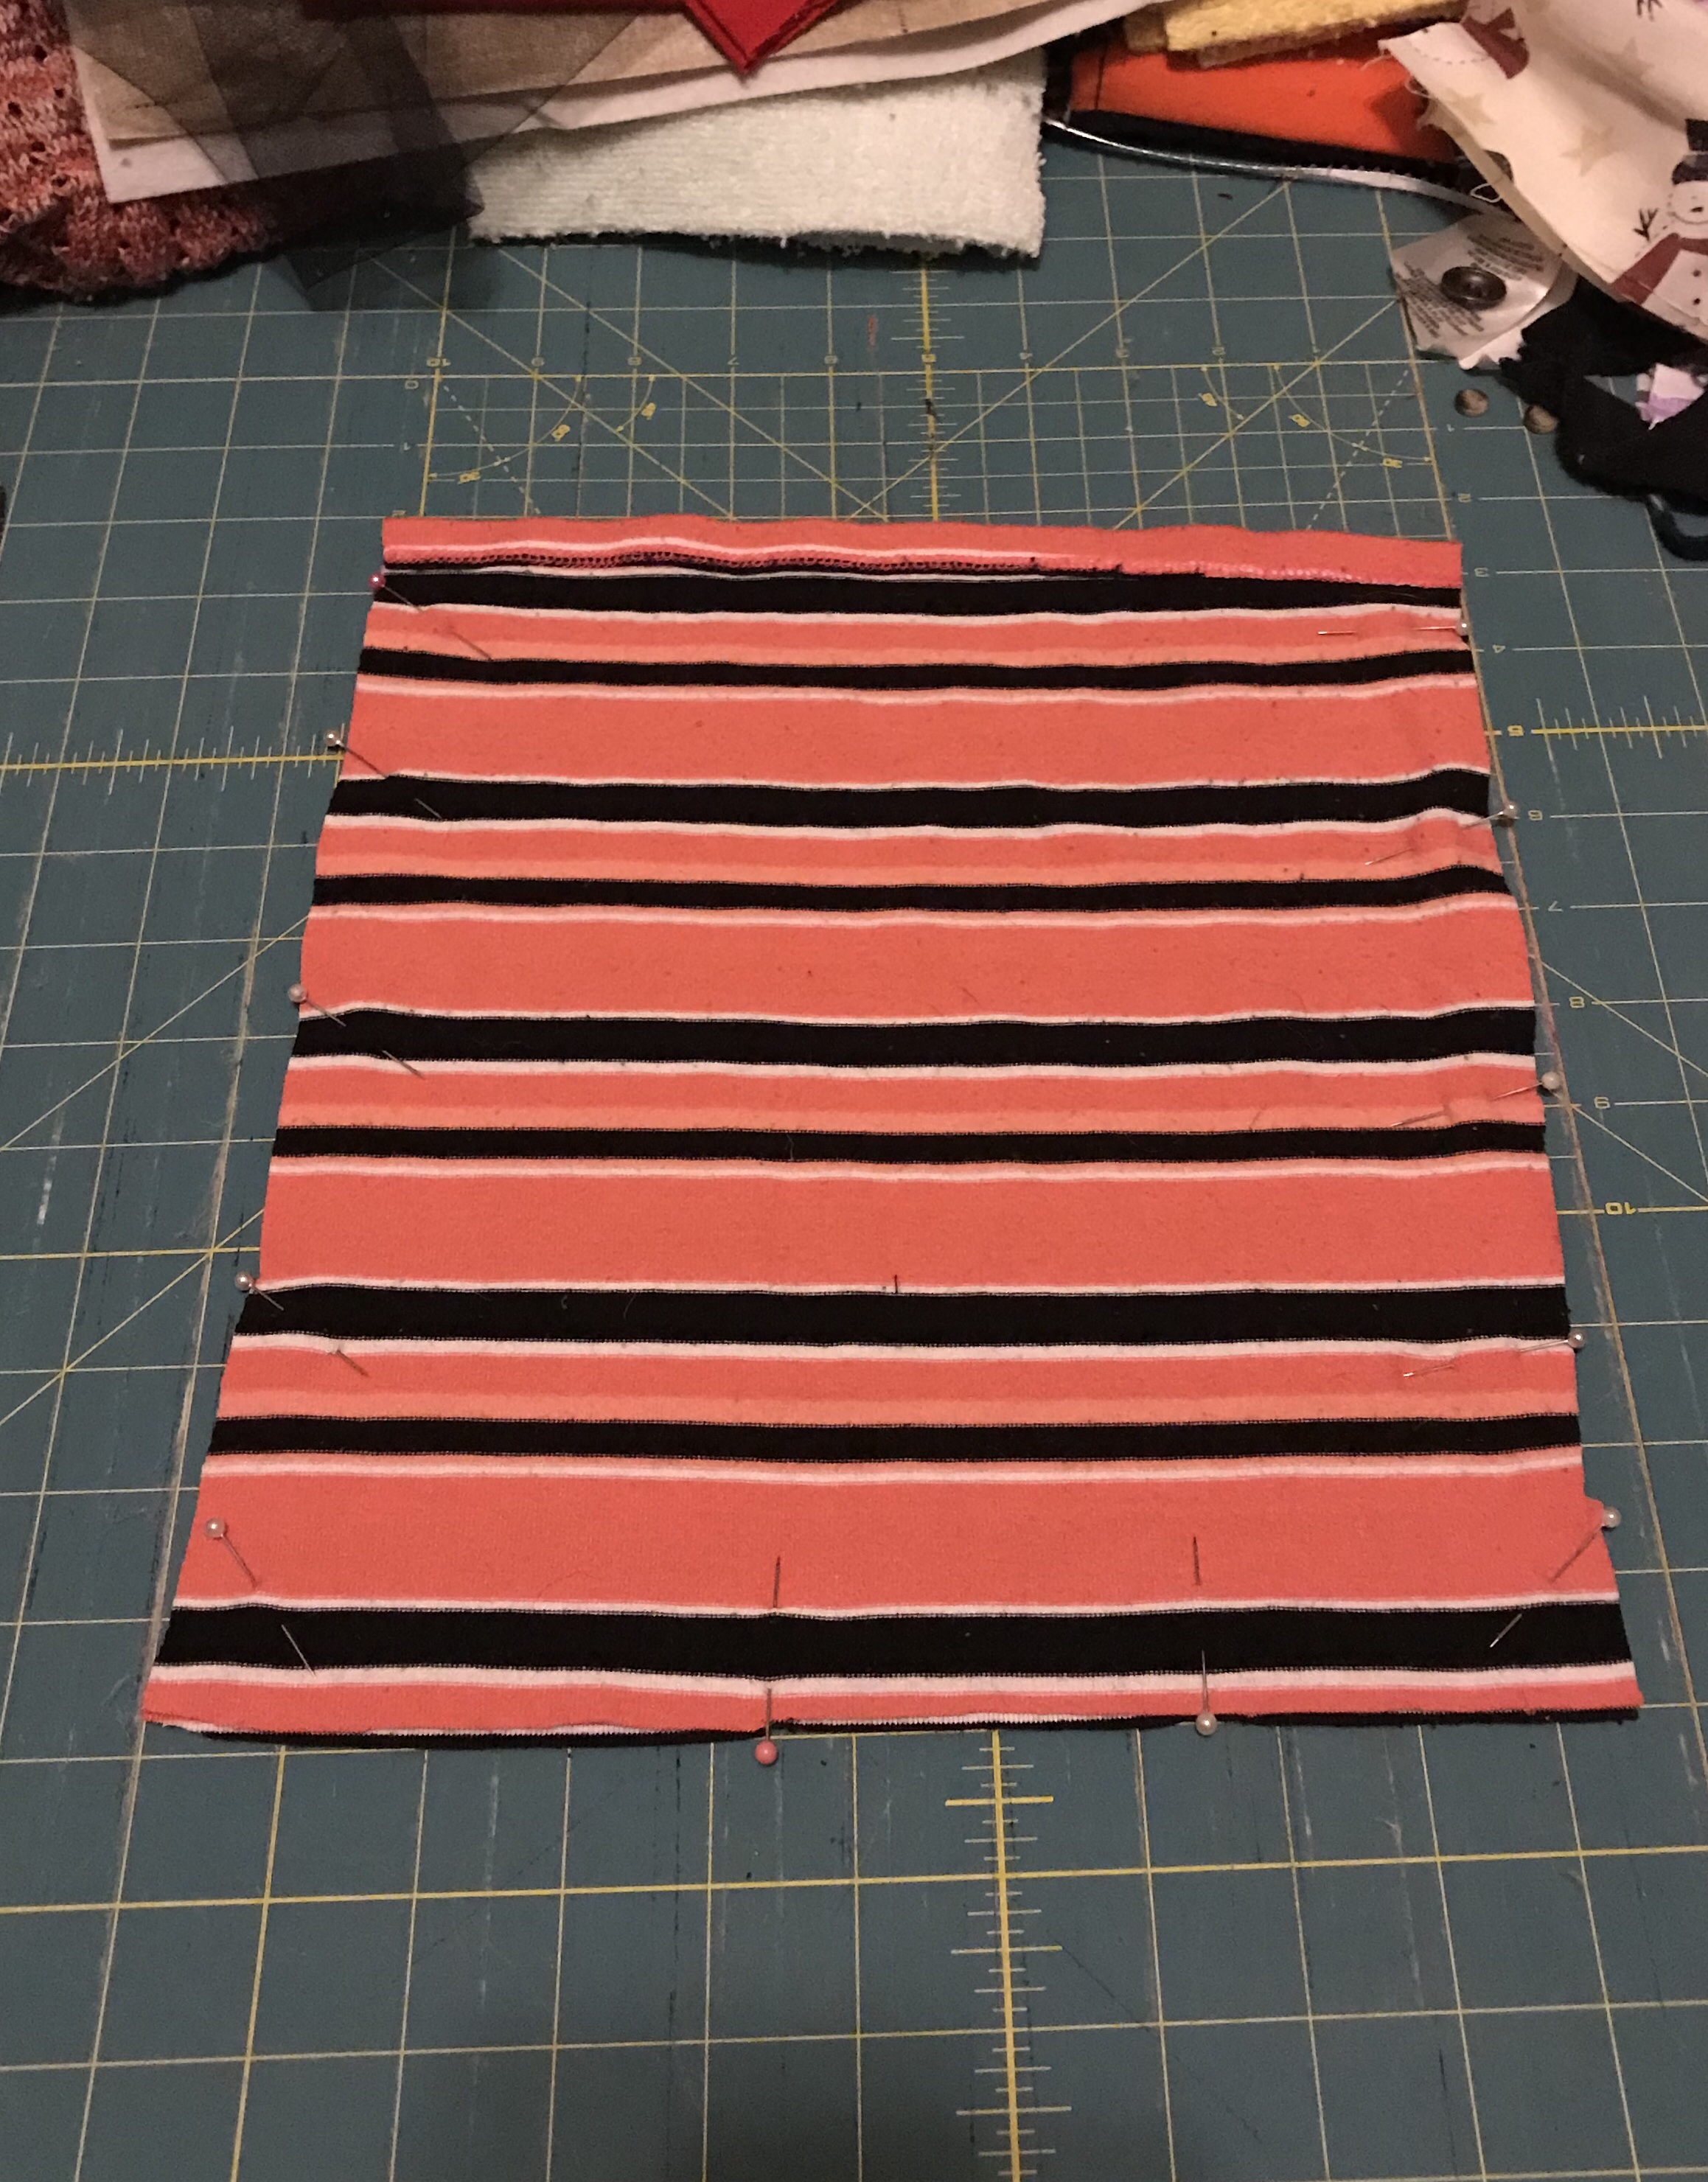
Pin the two pieces together after you cut it out and sew up the three sides, leaving the side with the original hem open for the top of the bag. If you pulled the address label of the mailer, be careful picking it back up. It may stick to the fabric you just cut out. I did this. Just wastes time laying the pieces back out flat, but it’s not the greatest disaster.
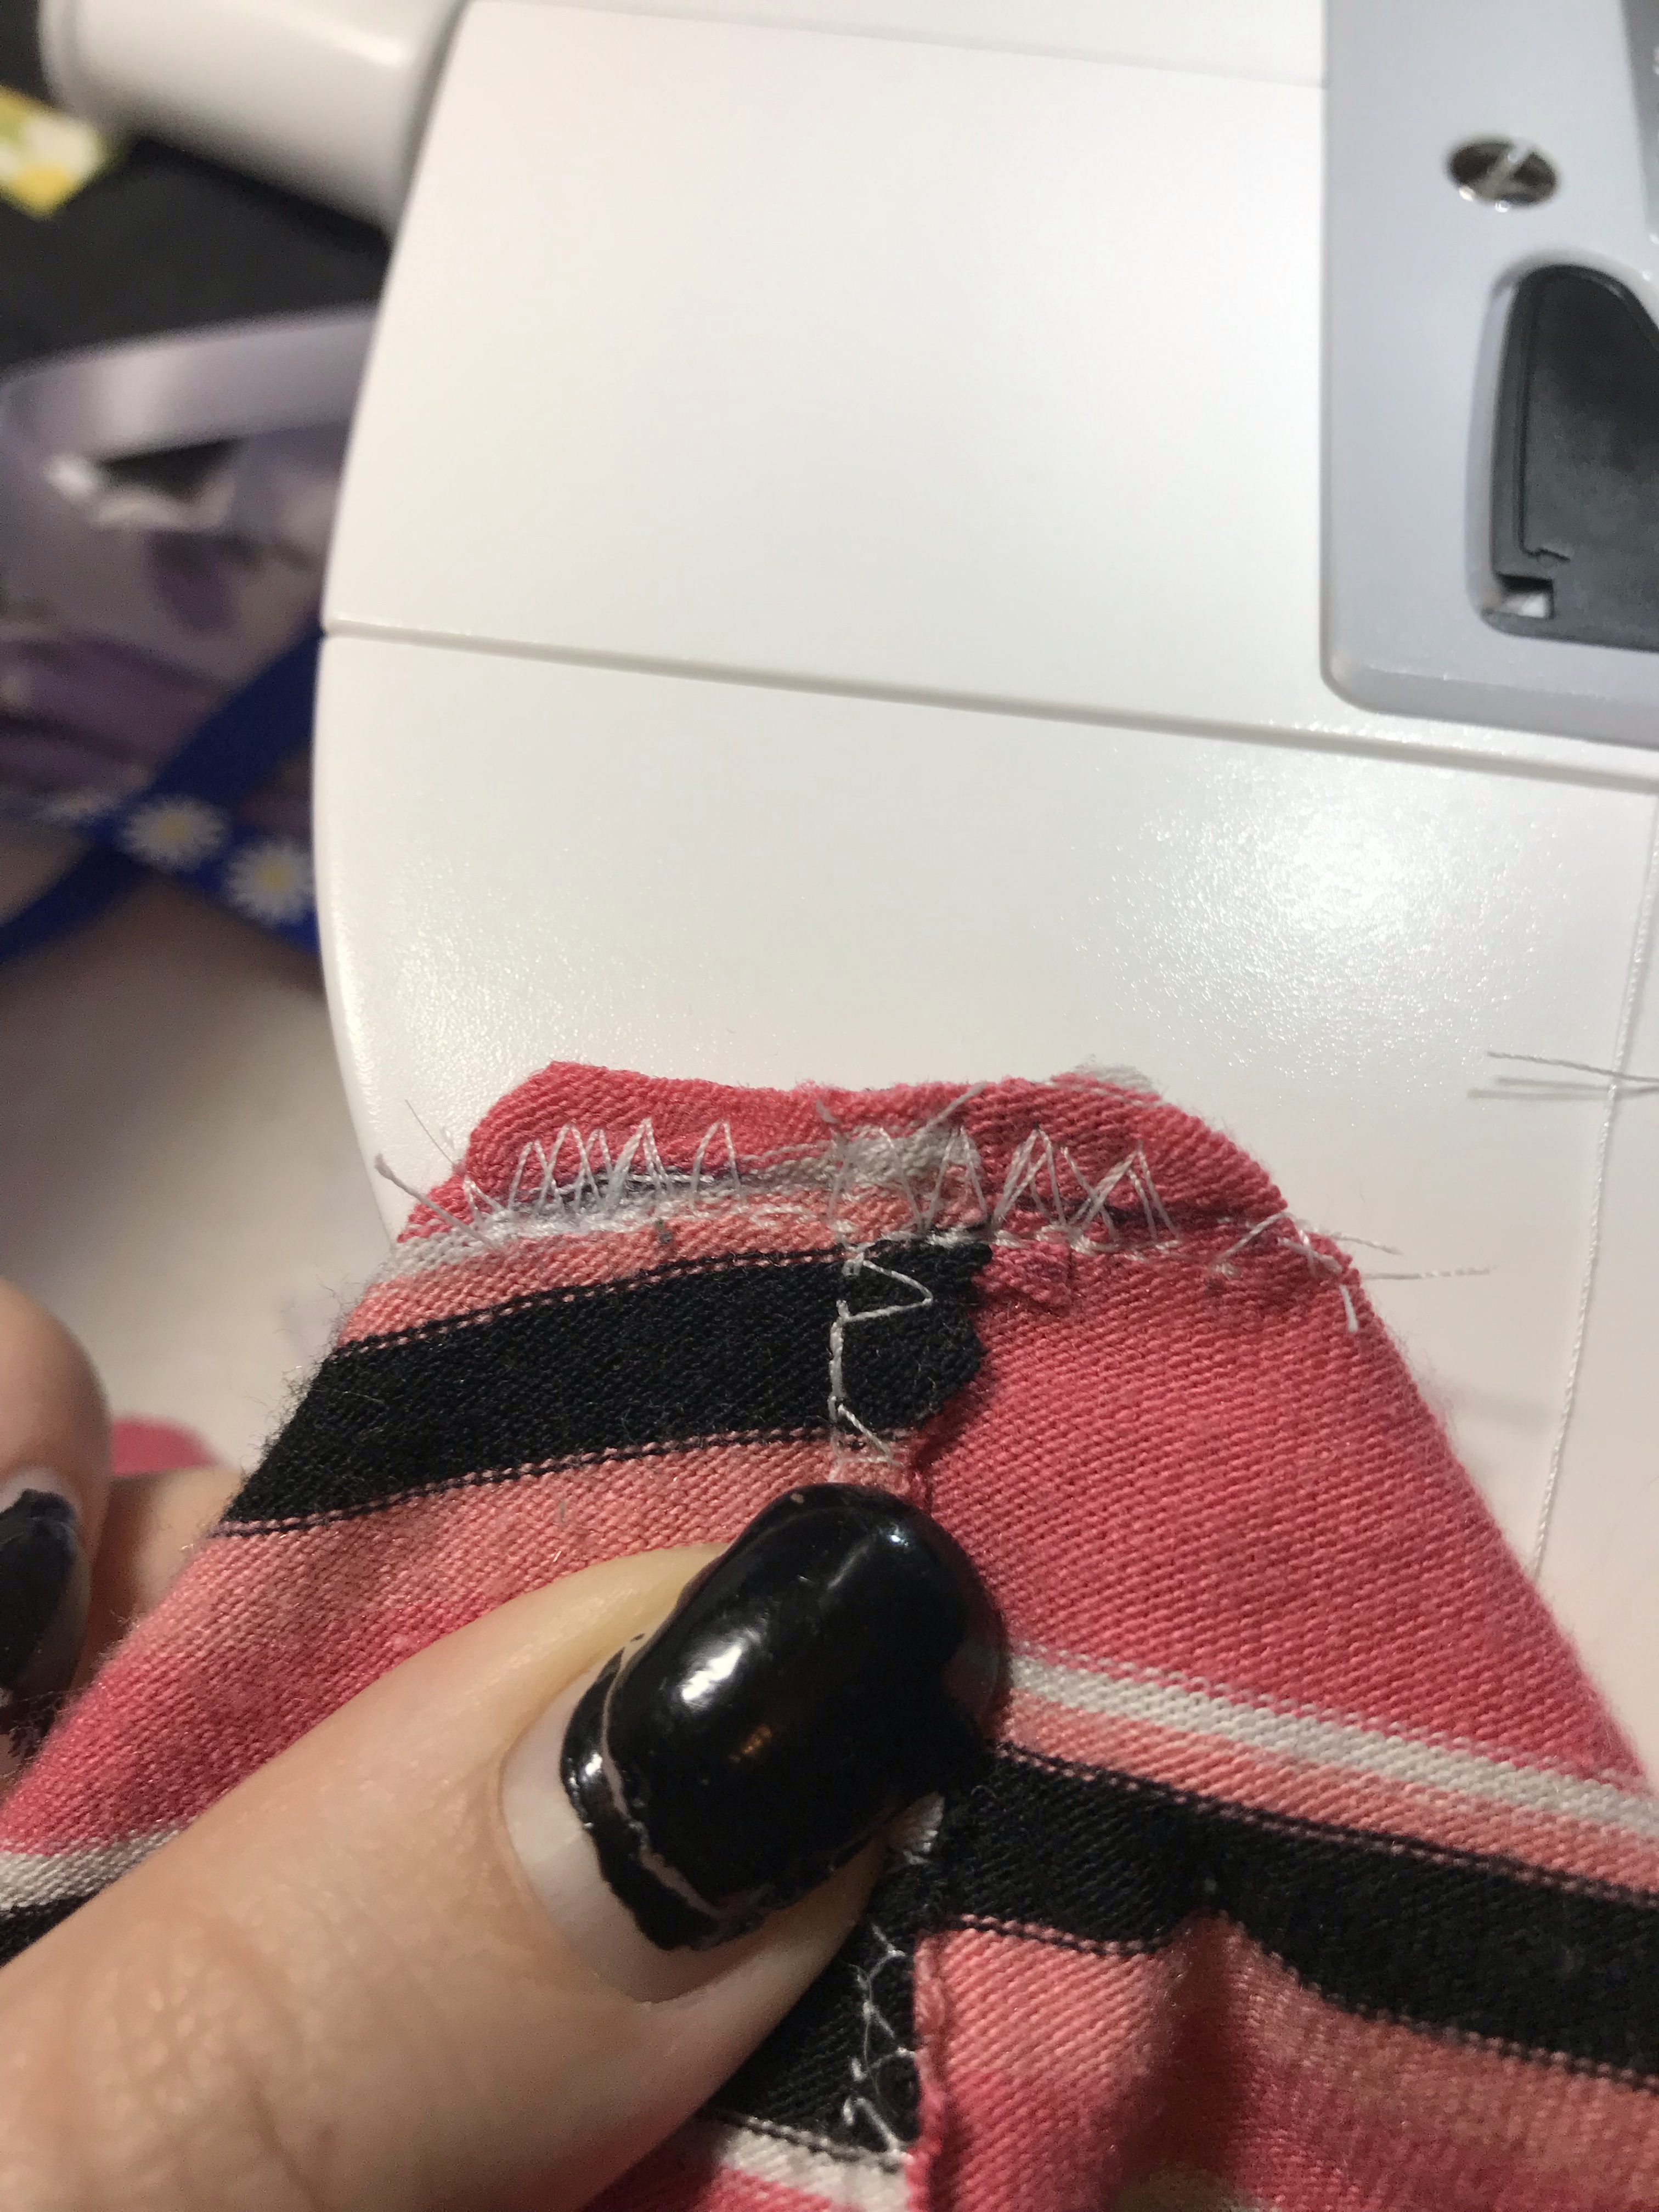
Here is a close up of the fake server stitch I use. It is triangle shaped. Since this is a knit fabric, you can get away with a zig-zag stitch. If it was a regular cotton, you would need to add a little length when you cut out the pattern so you can roll it over and prevent the cloth from fraying. Now that you have both pieces of the bag prepped, you can box out the bottoms and assemble.
There are two different ways you can measure the corners to box them out. I am going to attach the handles for this bag right on the side seams, so I need the sides to be as wide as the belt I am using. The belt measures 1.5” across. On one side of the mailer, I flatten the side seam down to the middle crease of the bottom, forming this point.
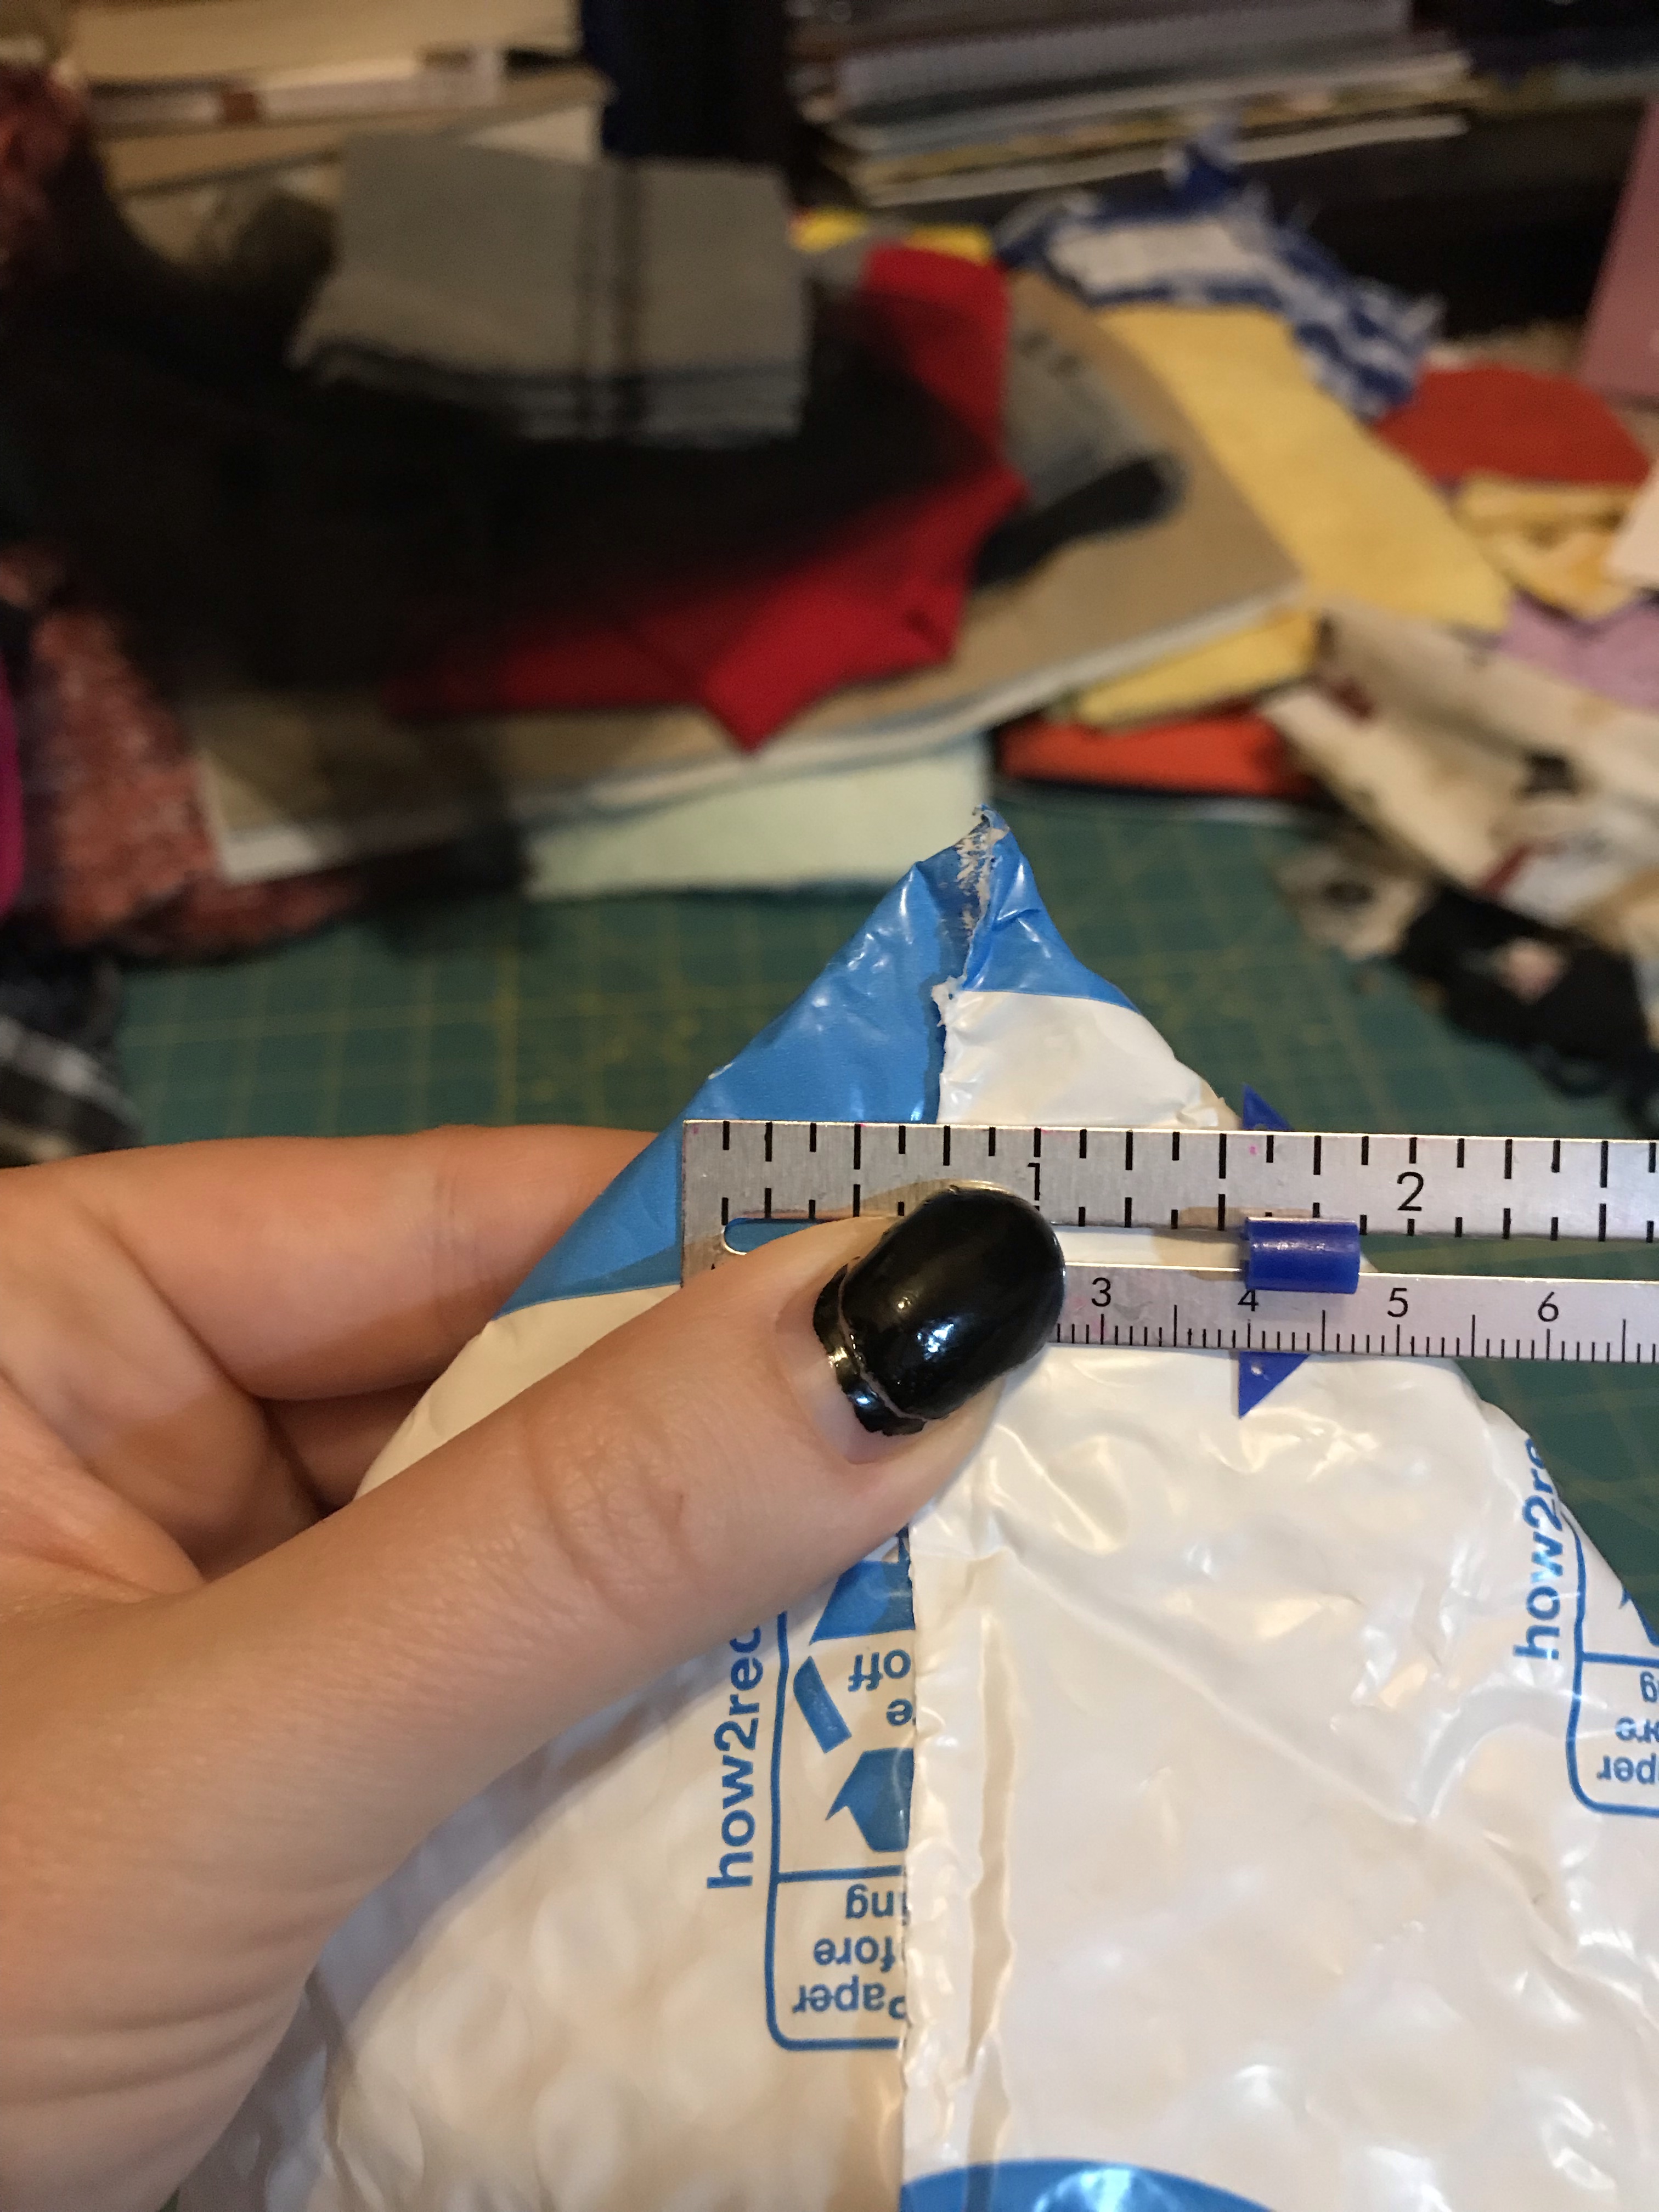
Since the belt is 1.5” wide, I find the spot down from the point that reads just a hair more that 1.5”. Draw a line across this point so you will know where to sew. If you are not attaching the straps directly on the side seams, you can instead measure from the tip down. Do the same thing with the other side. Also do this same process with both corners of the fabric half.
For both fabric and mailer, use a straight stitch across the line you drew. With the fabric, go back over it with that same fake serger stitch (or zig-zag) you used on the sides of the bag. Trim the excess. You will need a lighter handy for the mailer. After sewing it with a straight stitch and trimming the excess, heat seal the edges. This means you will use the lighter to slightly melt the plastic. This step is not entirely necessary, but it does ensure the corners are waterproof. Repeat on the other side.
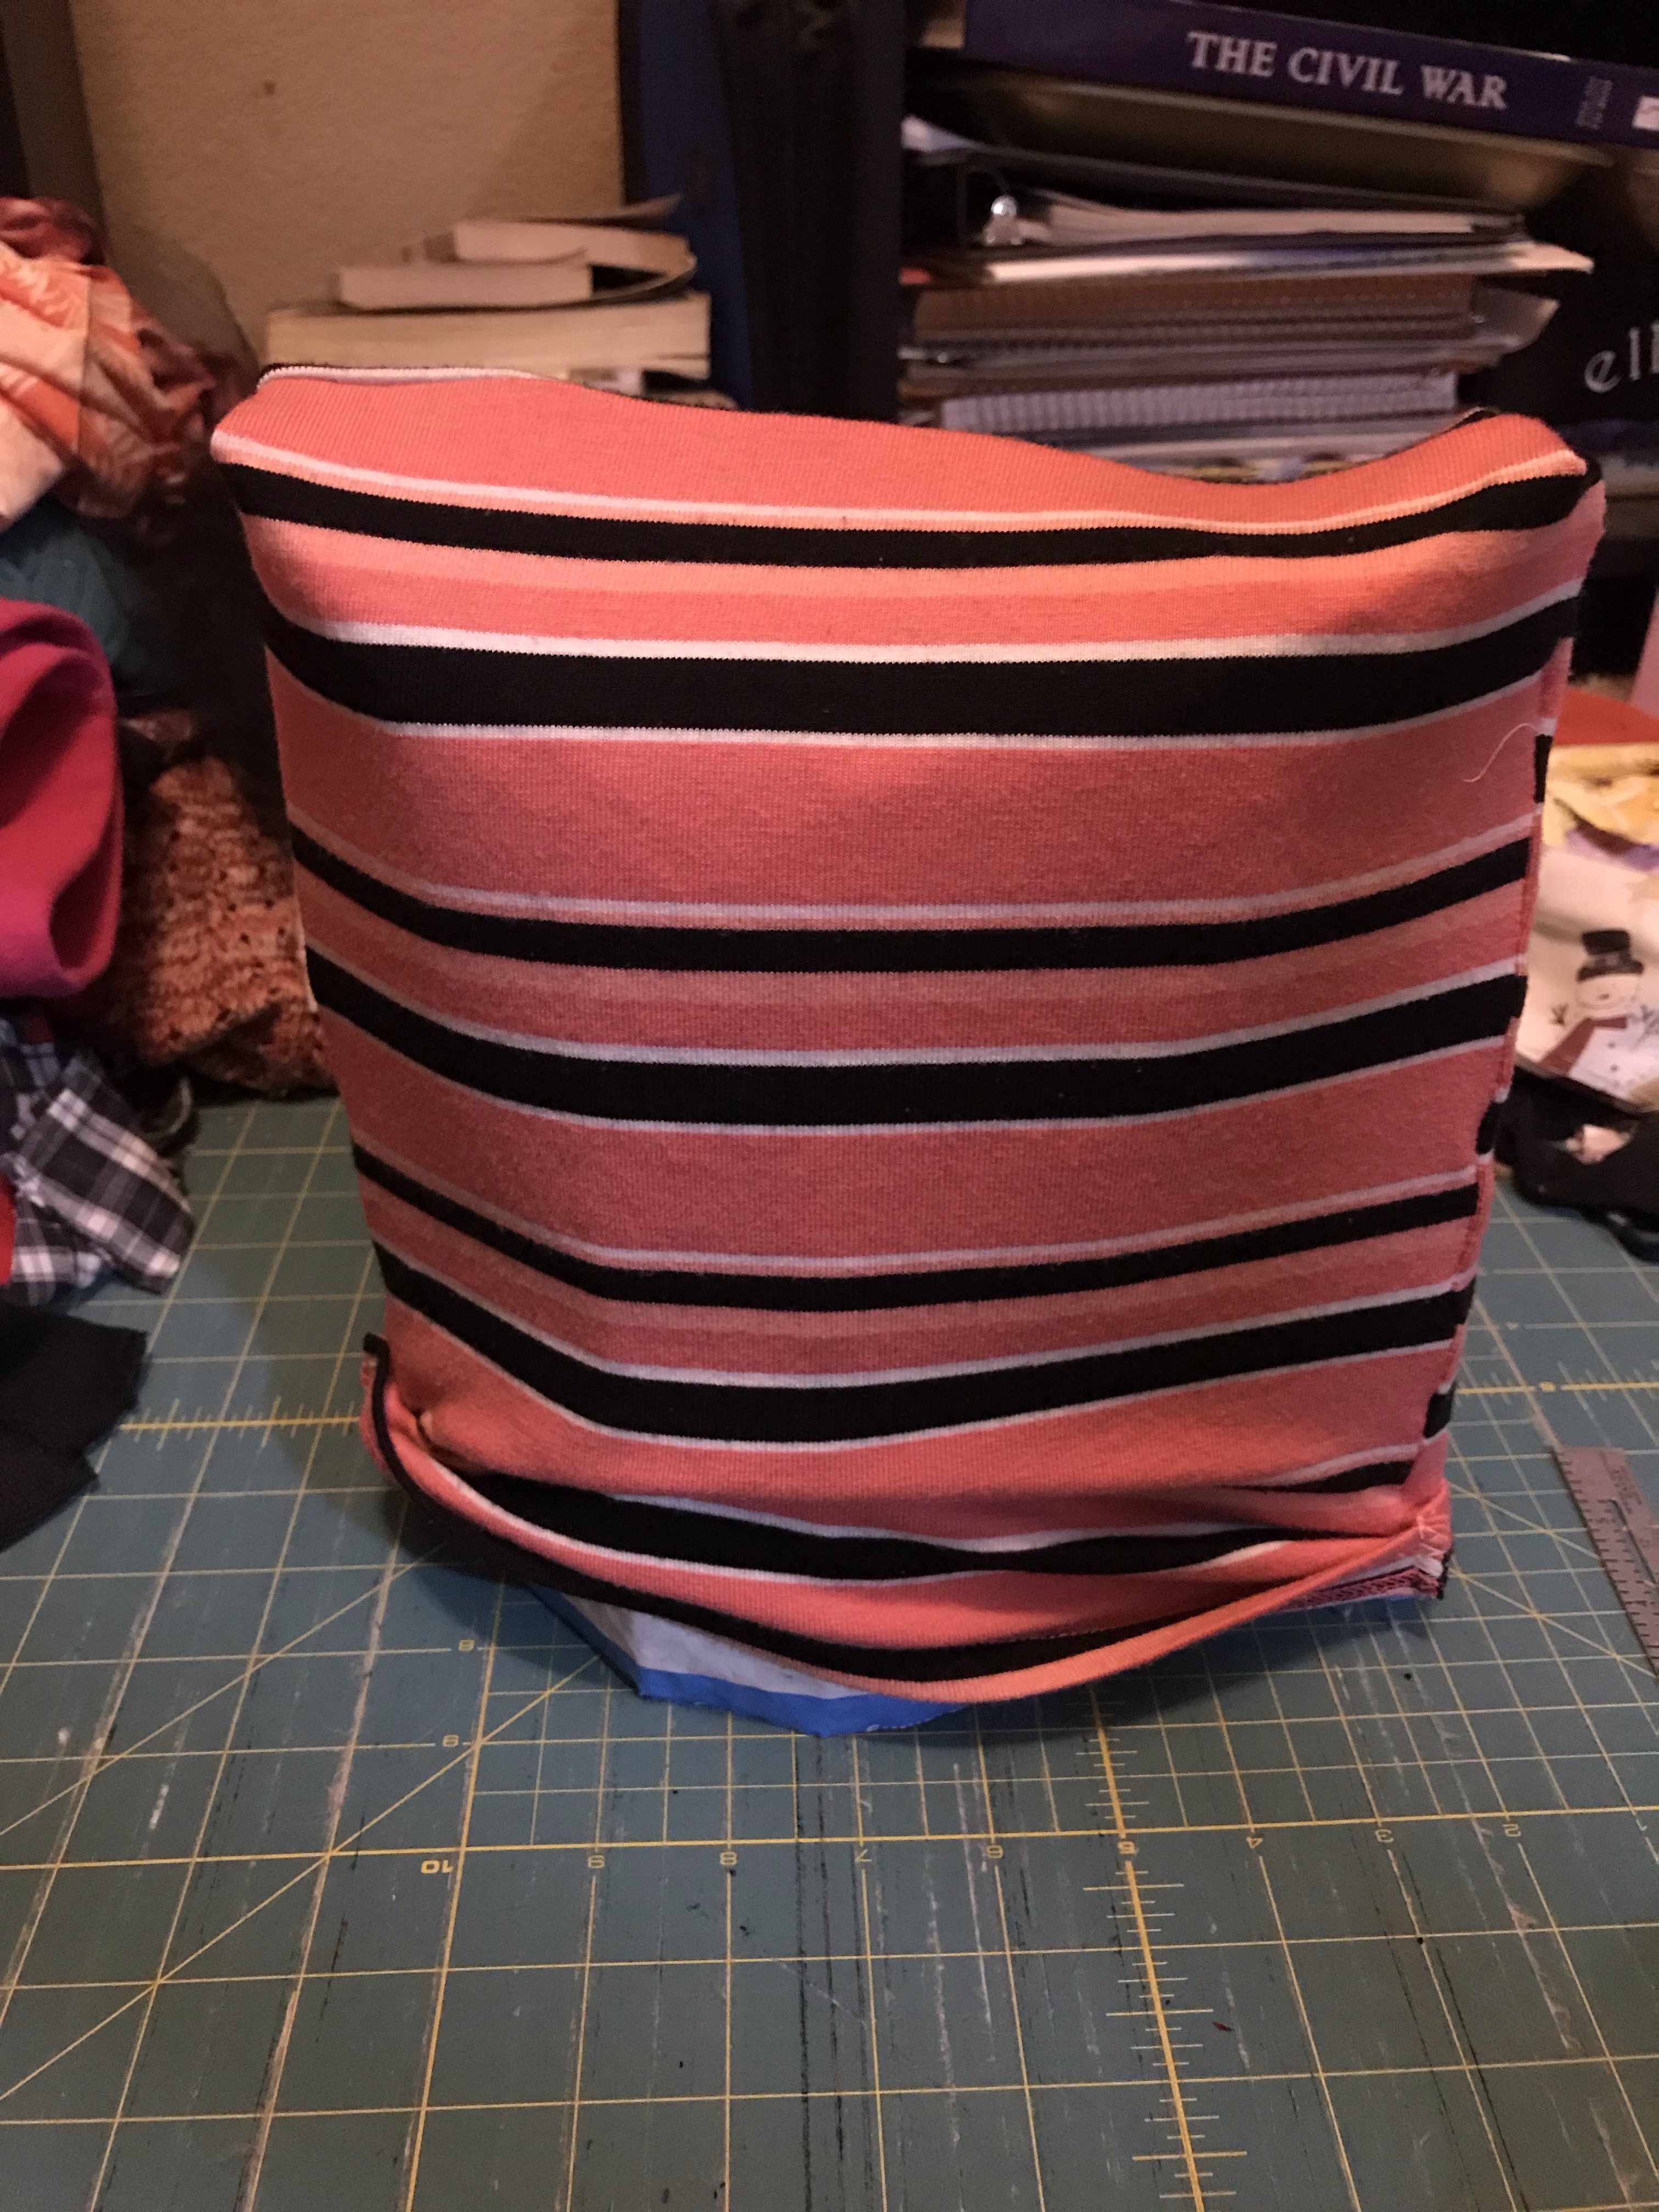
Prop the mailer up with the bottom side up. Shimmy the fabric bag right side out over that mailer. Move it around and make sure the all the size seam match up like they are supposed to.
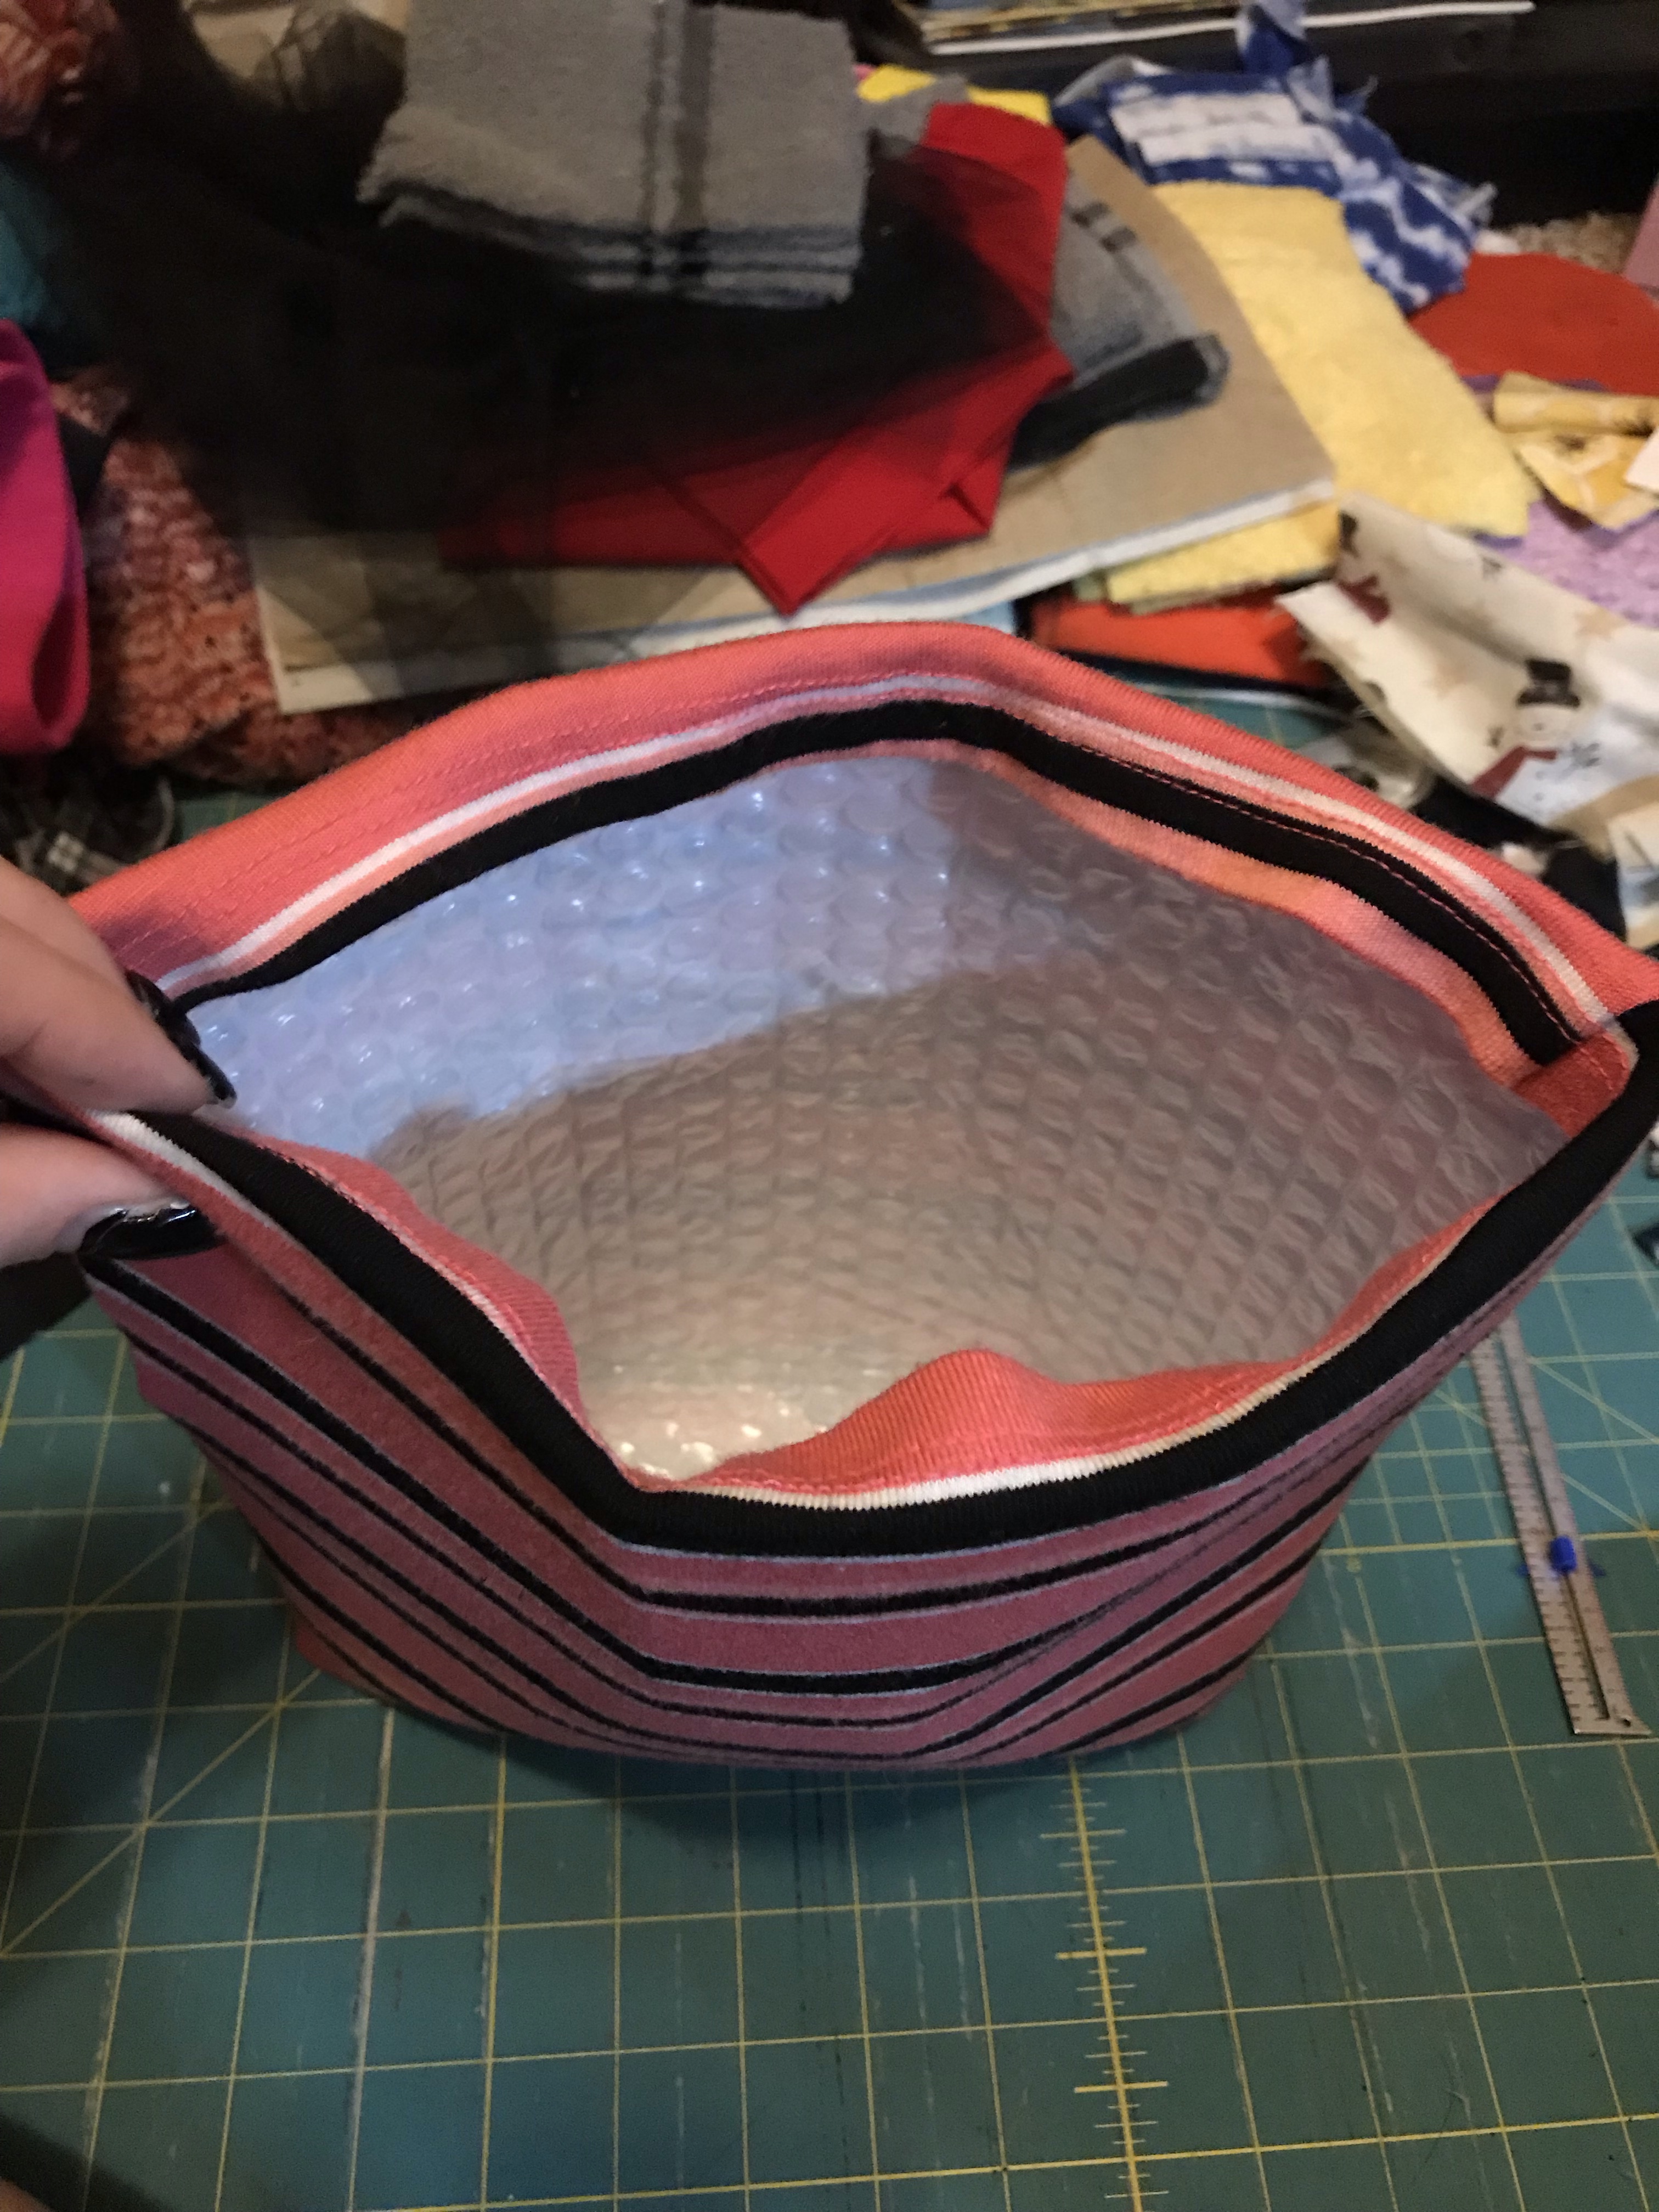
Flip that bag over. You are almost finished!
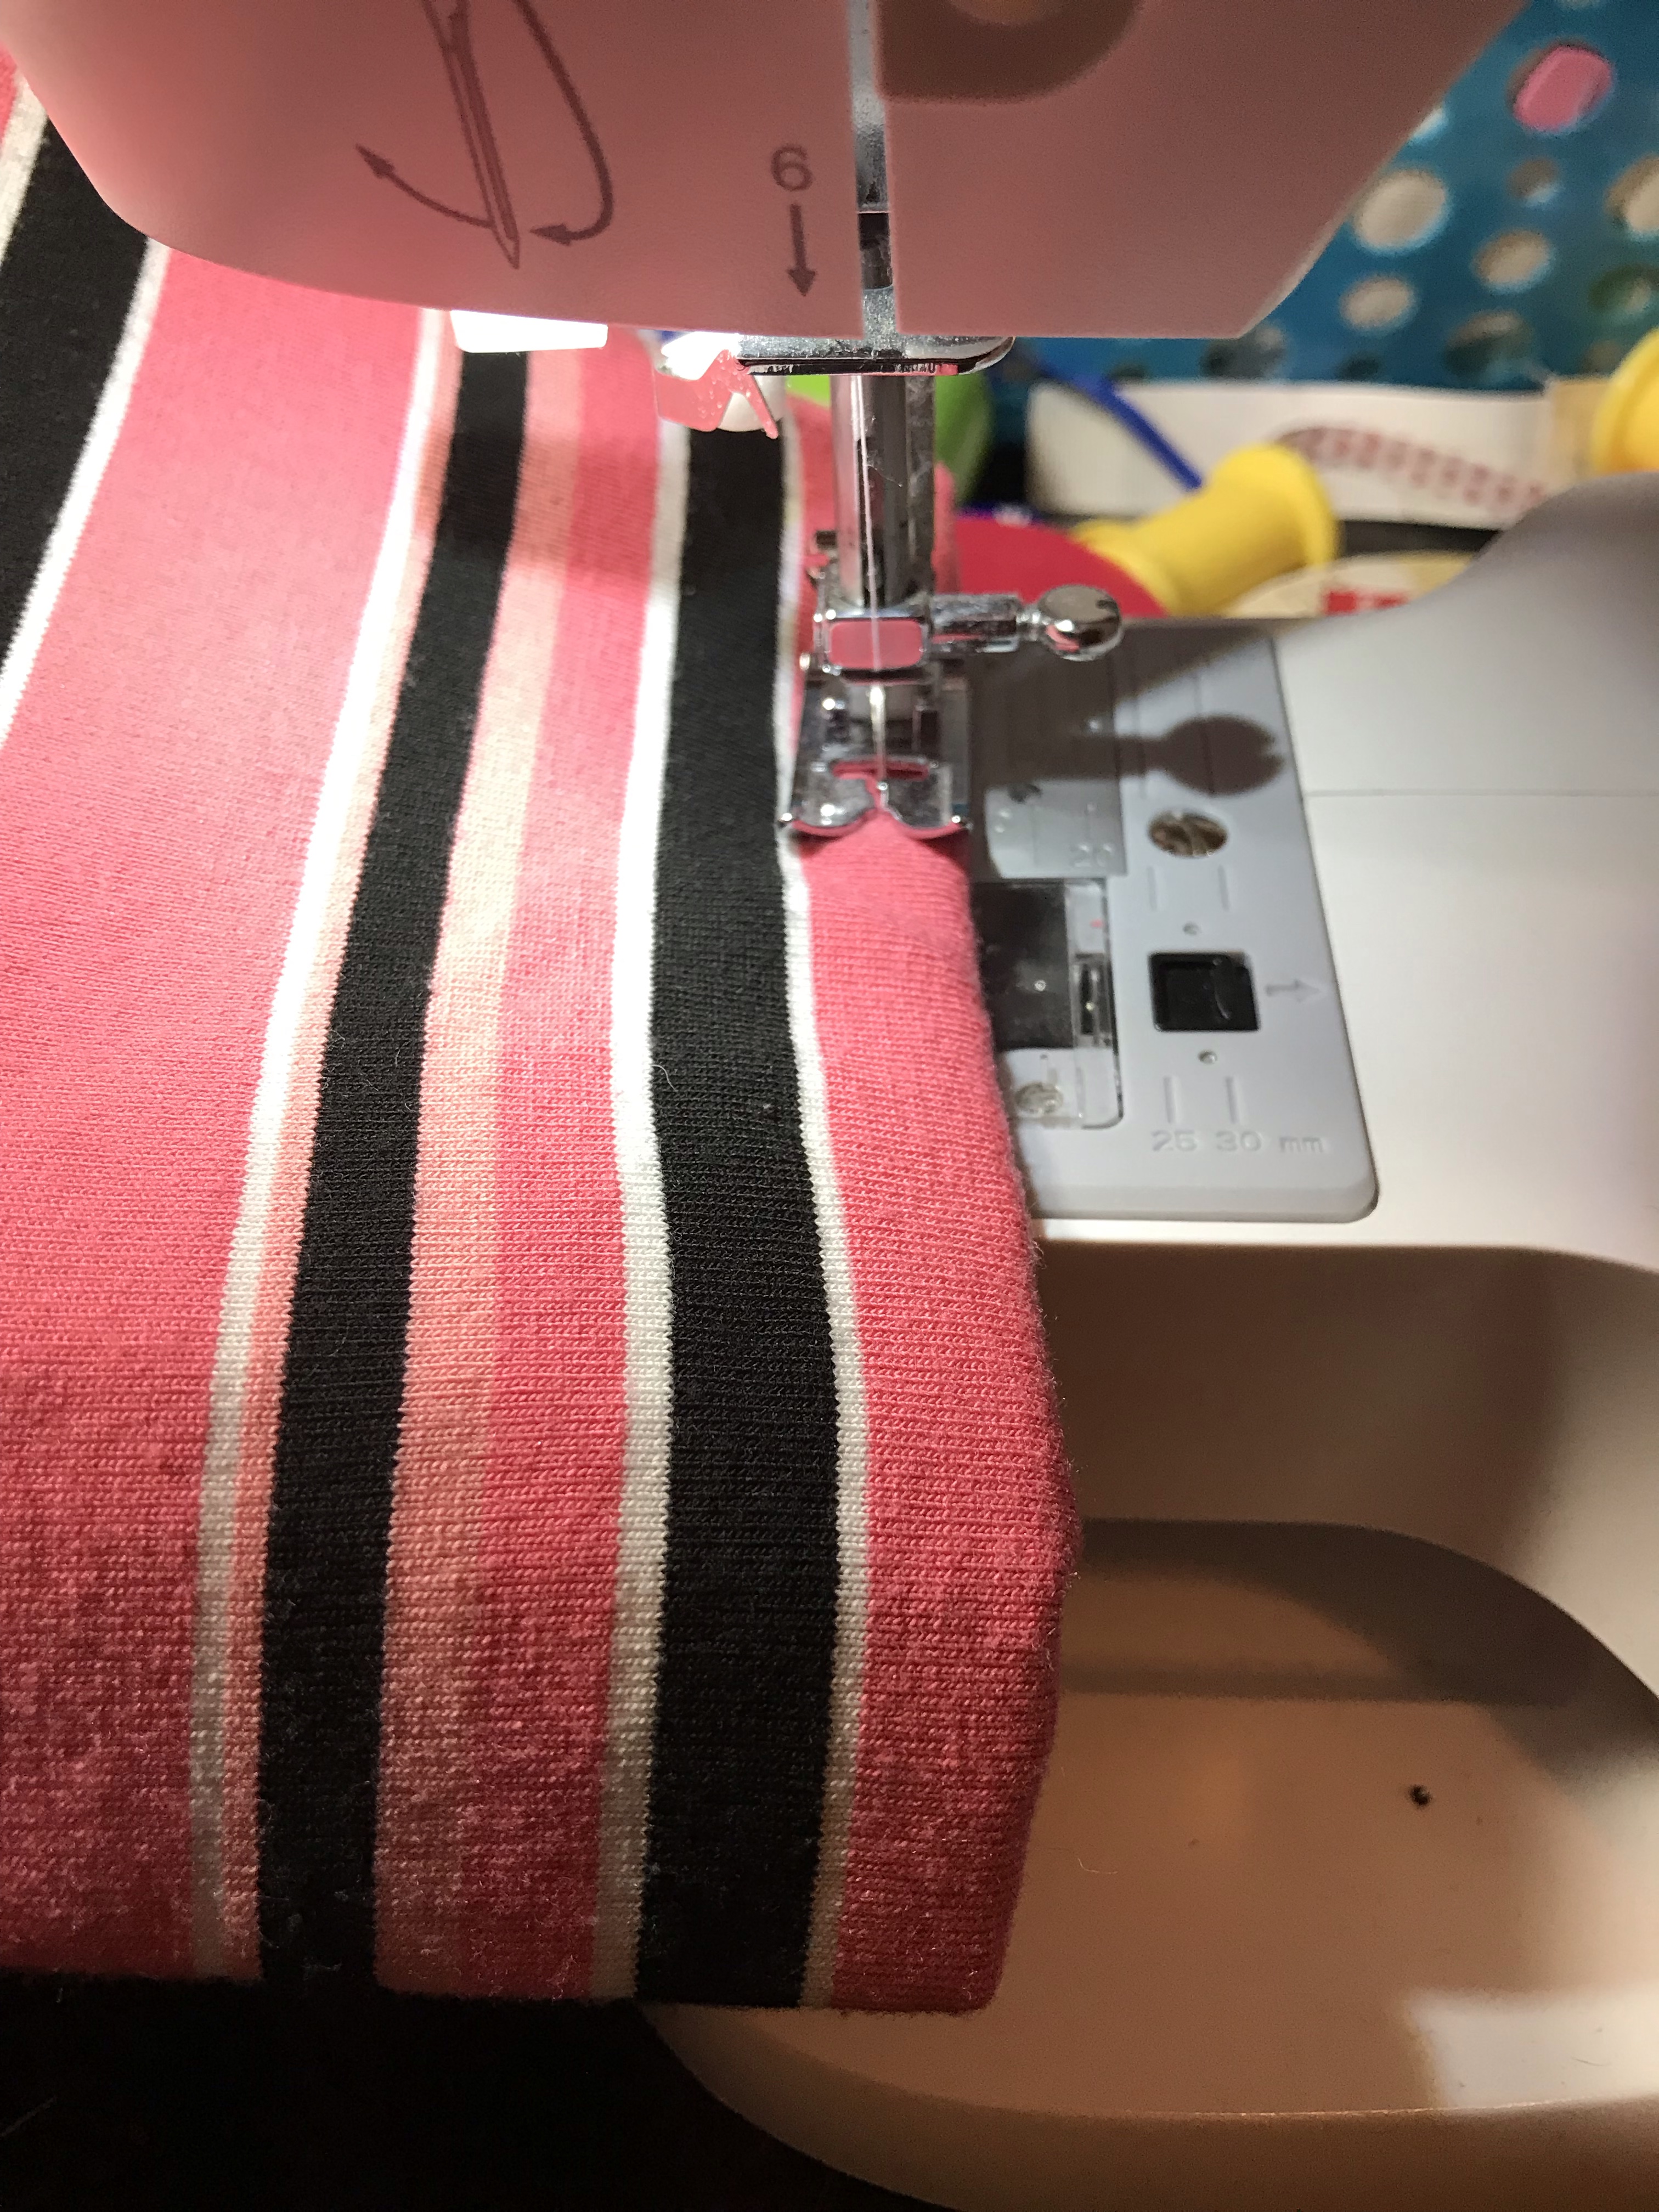
Move the fabric around and make sure all the lines match up. Fold that top hem over to cover up the exposed edge of the mailer. If you have clips, clip the top in place and sew a straight stitch around it. I don’t suggest pinning it down because it will puncture the mailer and defeat the waterproofing. If you work slowly, you may not need anything. Working with the mailer requires a little patience anyway, so take your time with it.
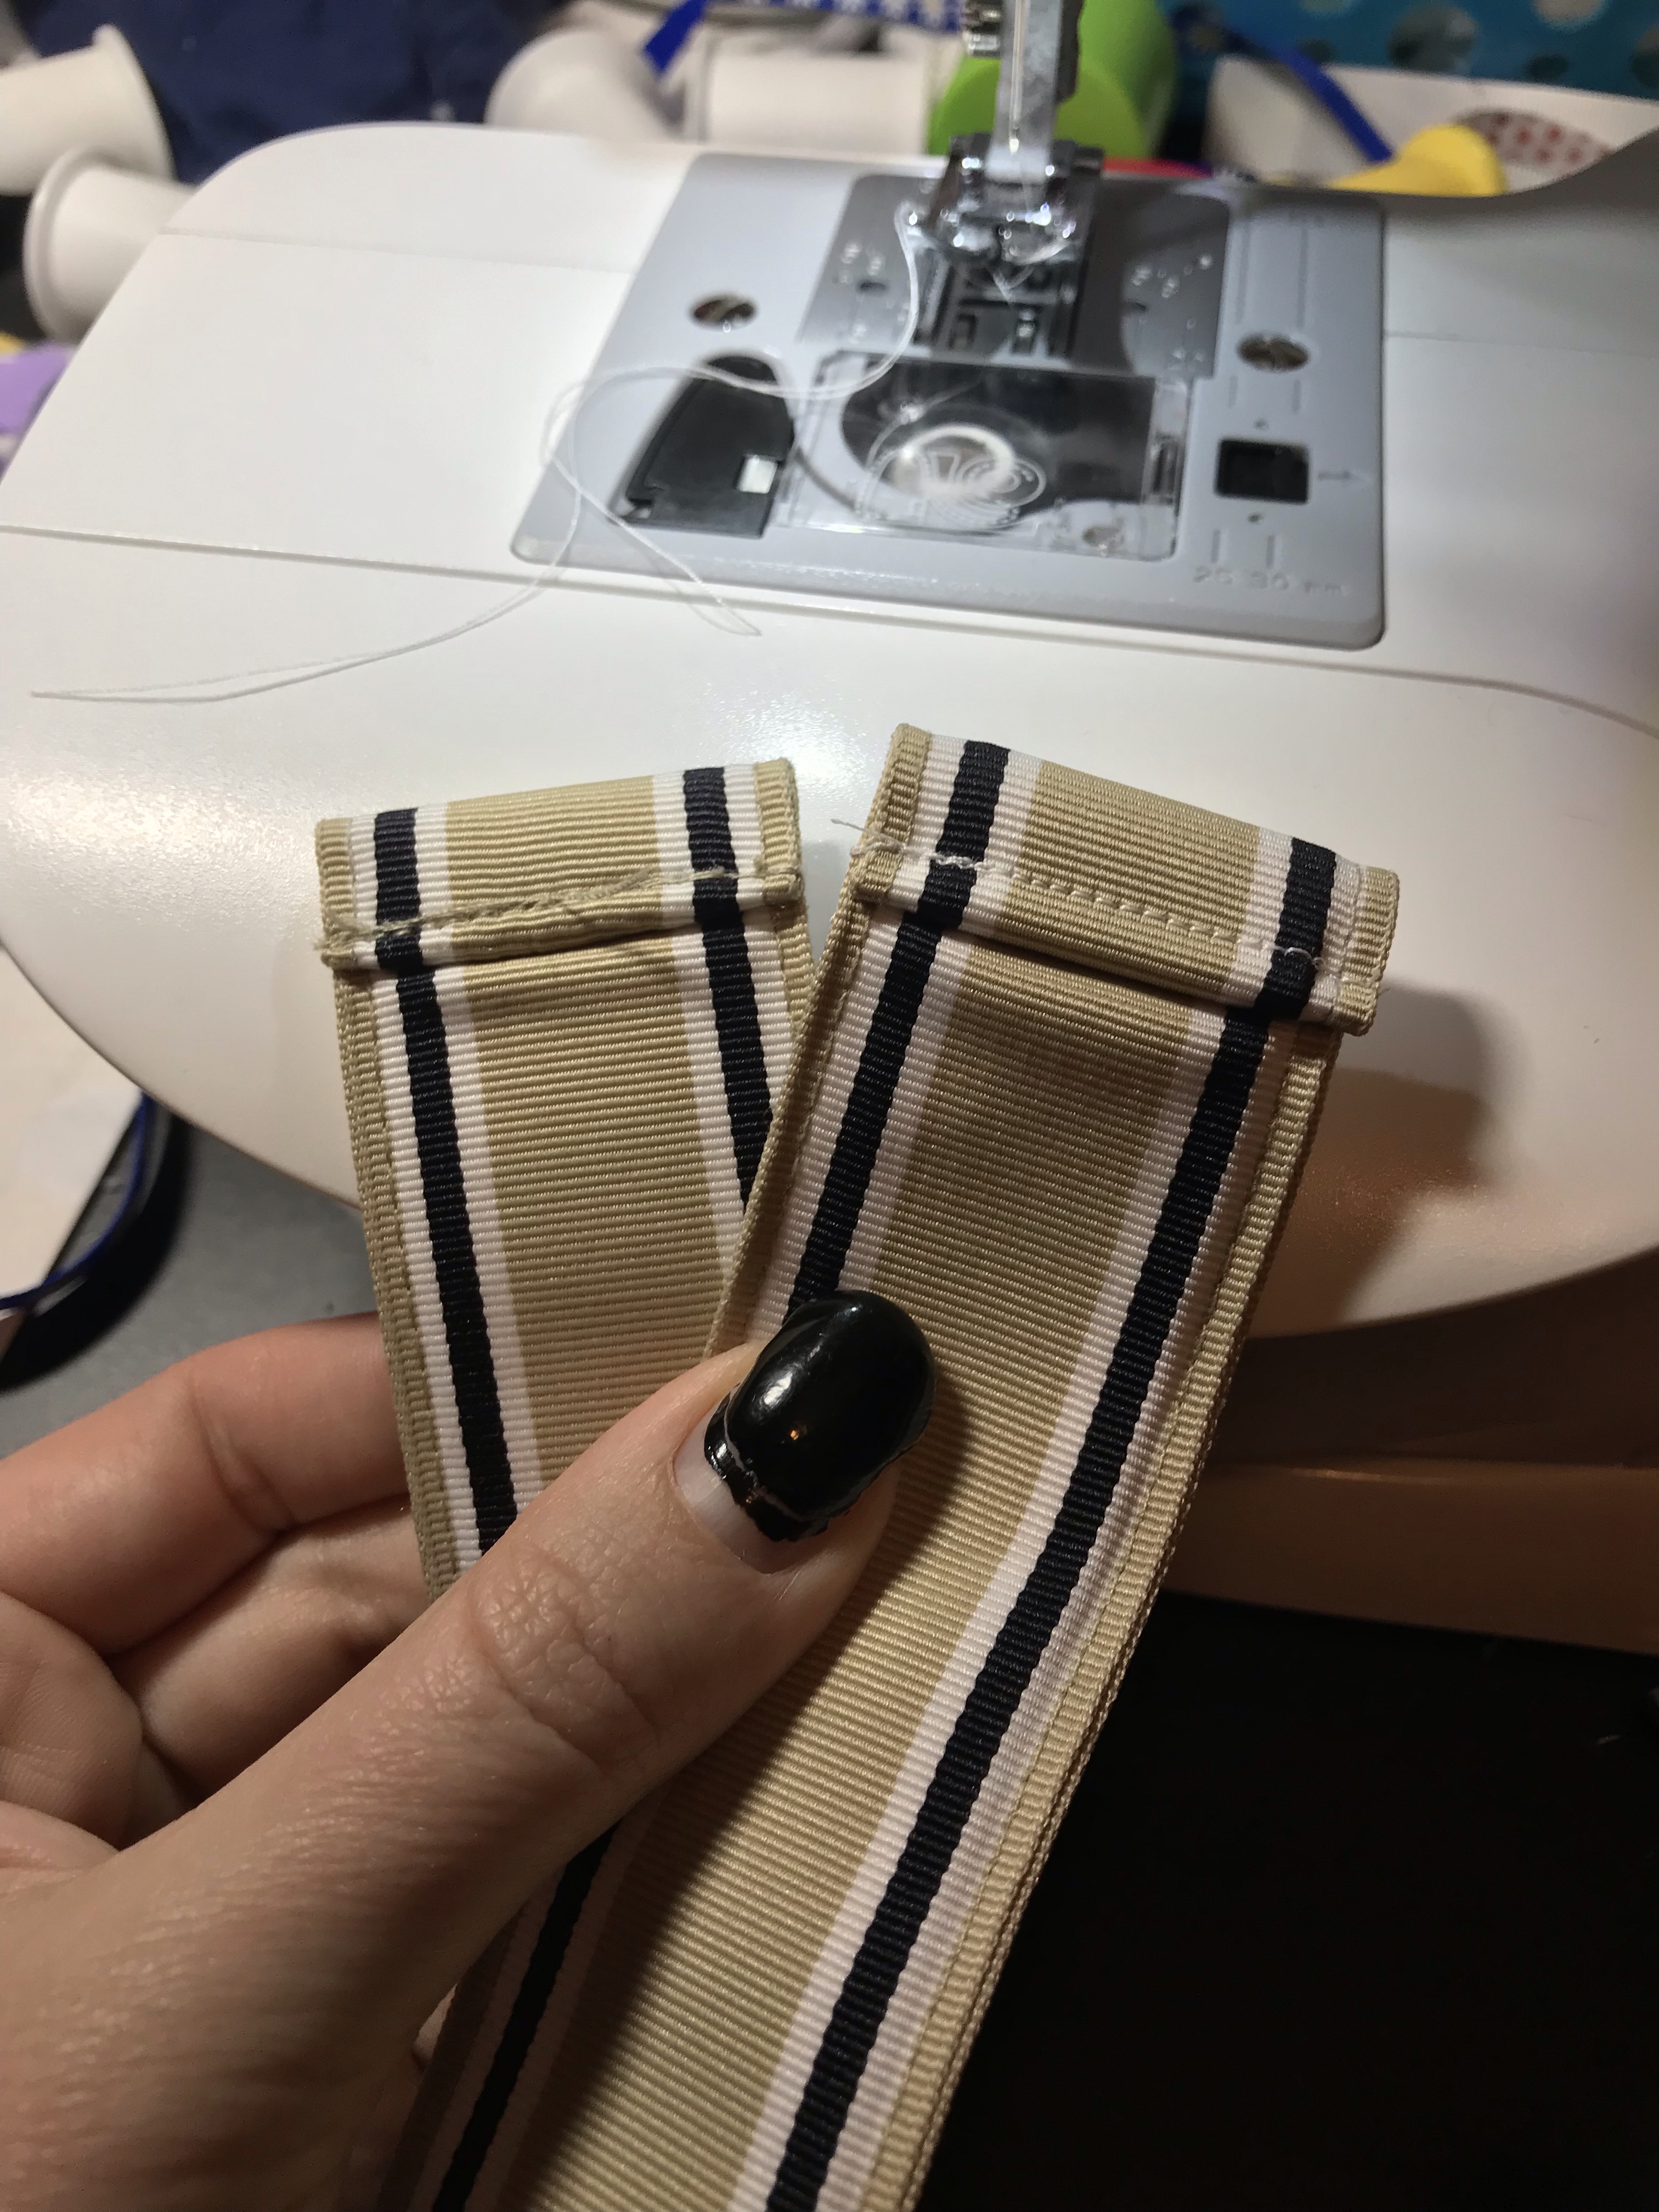
Now, the handles! There are so many different things you can do for the handles. Ribbon, belts, extra strips of fabric, get creative! I am using a belt for this one. One end is already sewn up nicely, so I cut the rings off the other end and sew that side up to match. I’m hindsight, when I cut the rings off, I should have pulled the outer piece down and trimmed down the strap on the inside. My machine had a hard time sewing through multiple layers of it.
LIVE AND LEARN!
If you are using something as thick as a belt, work slowly. It is a lot of layers for your machine to handle, so you need a little more patience with this step. It gets exciting because you are right at the end and can visualize it, but stay steady! Don’t botch it at the end!
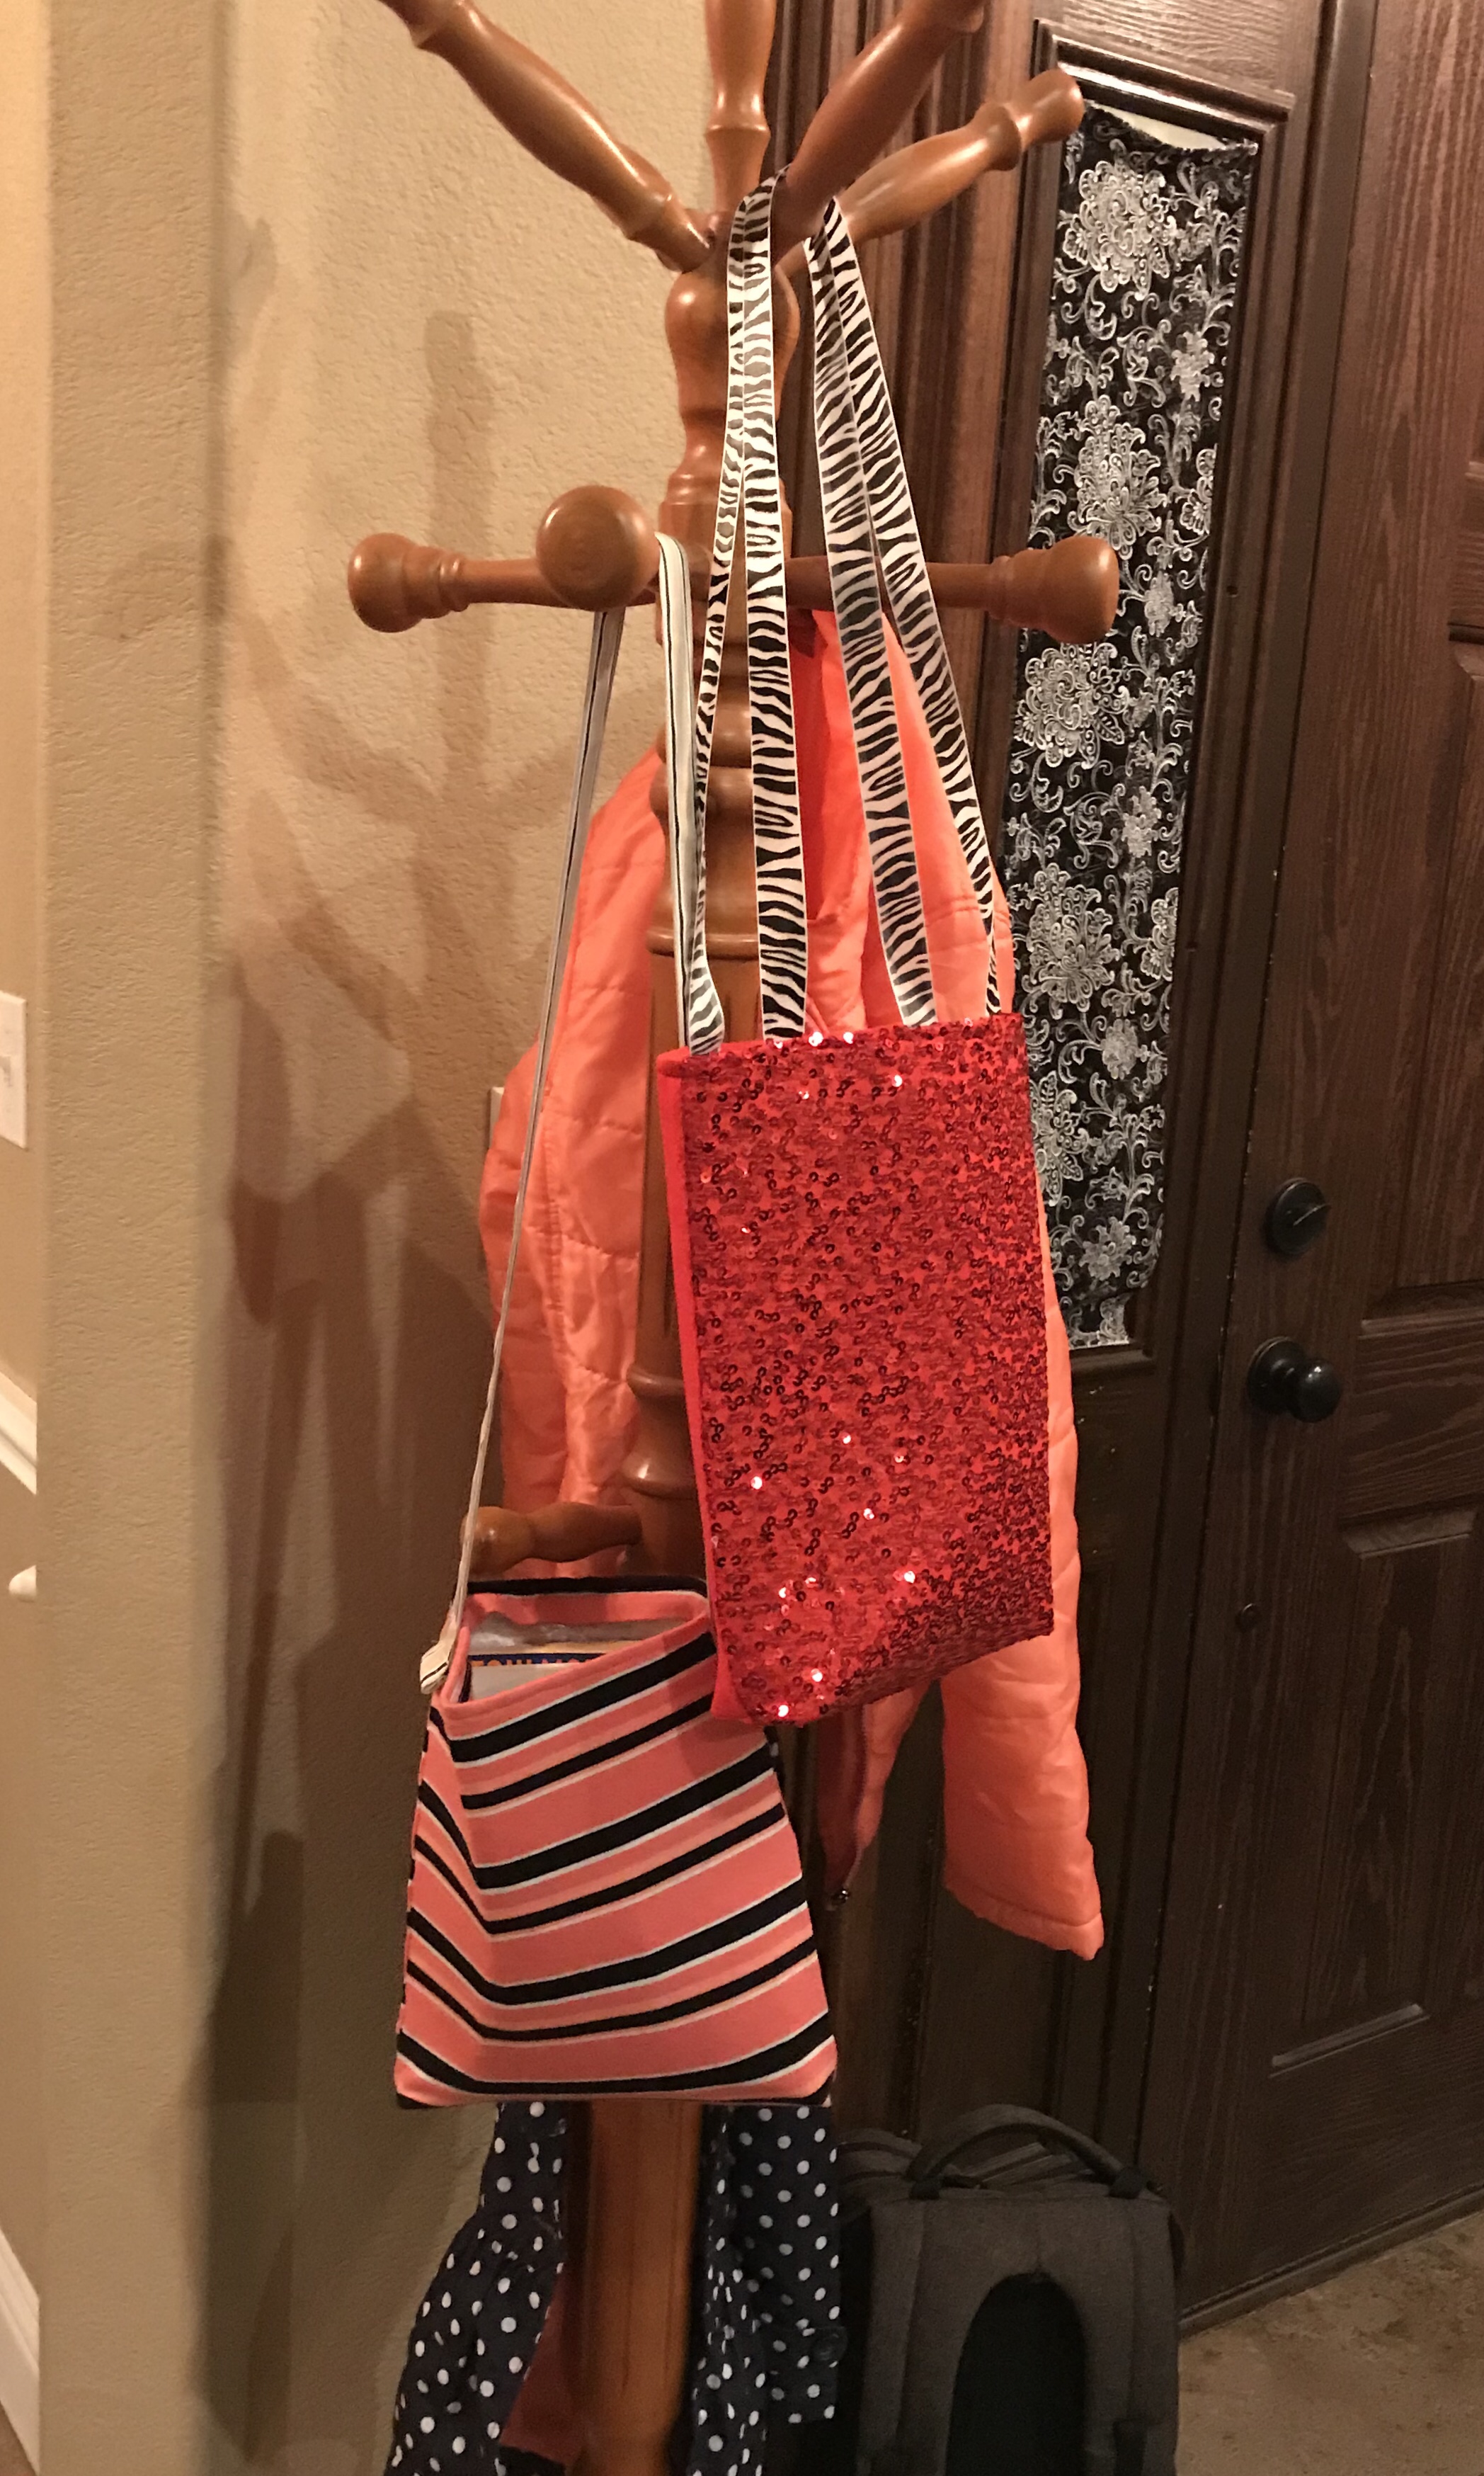
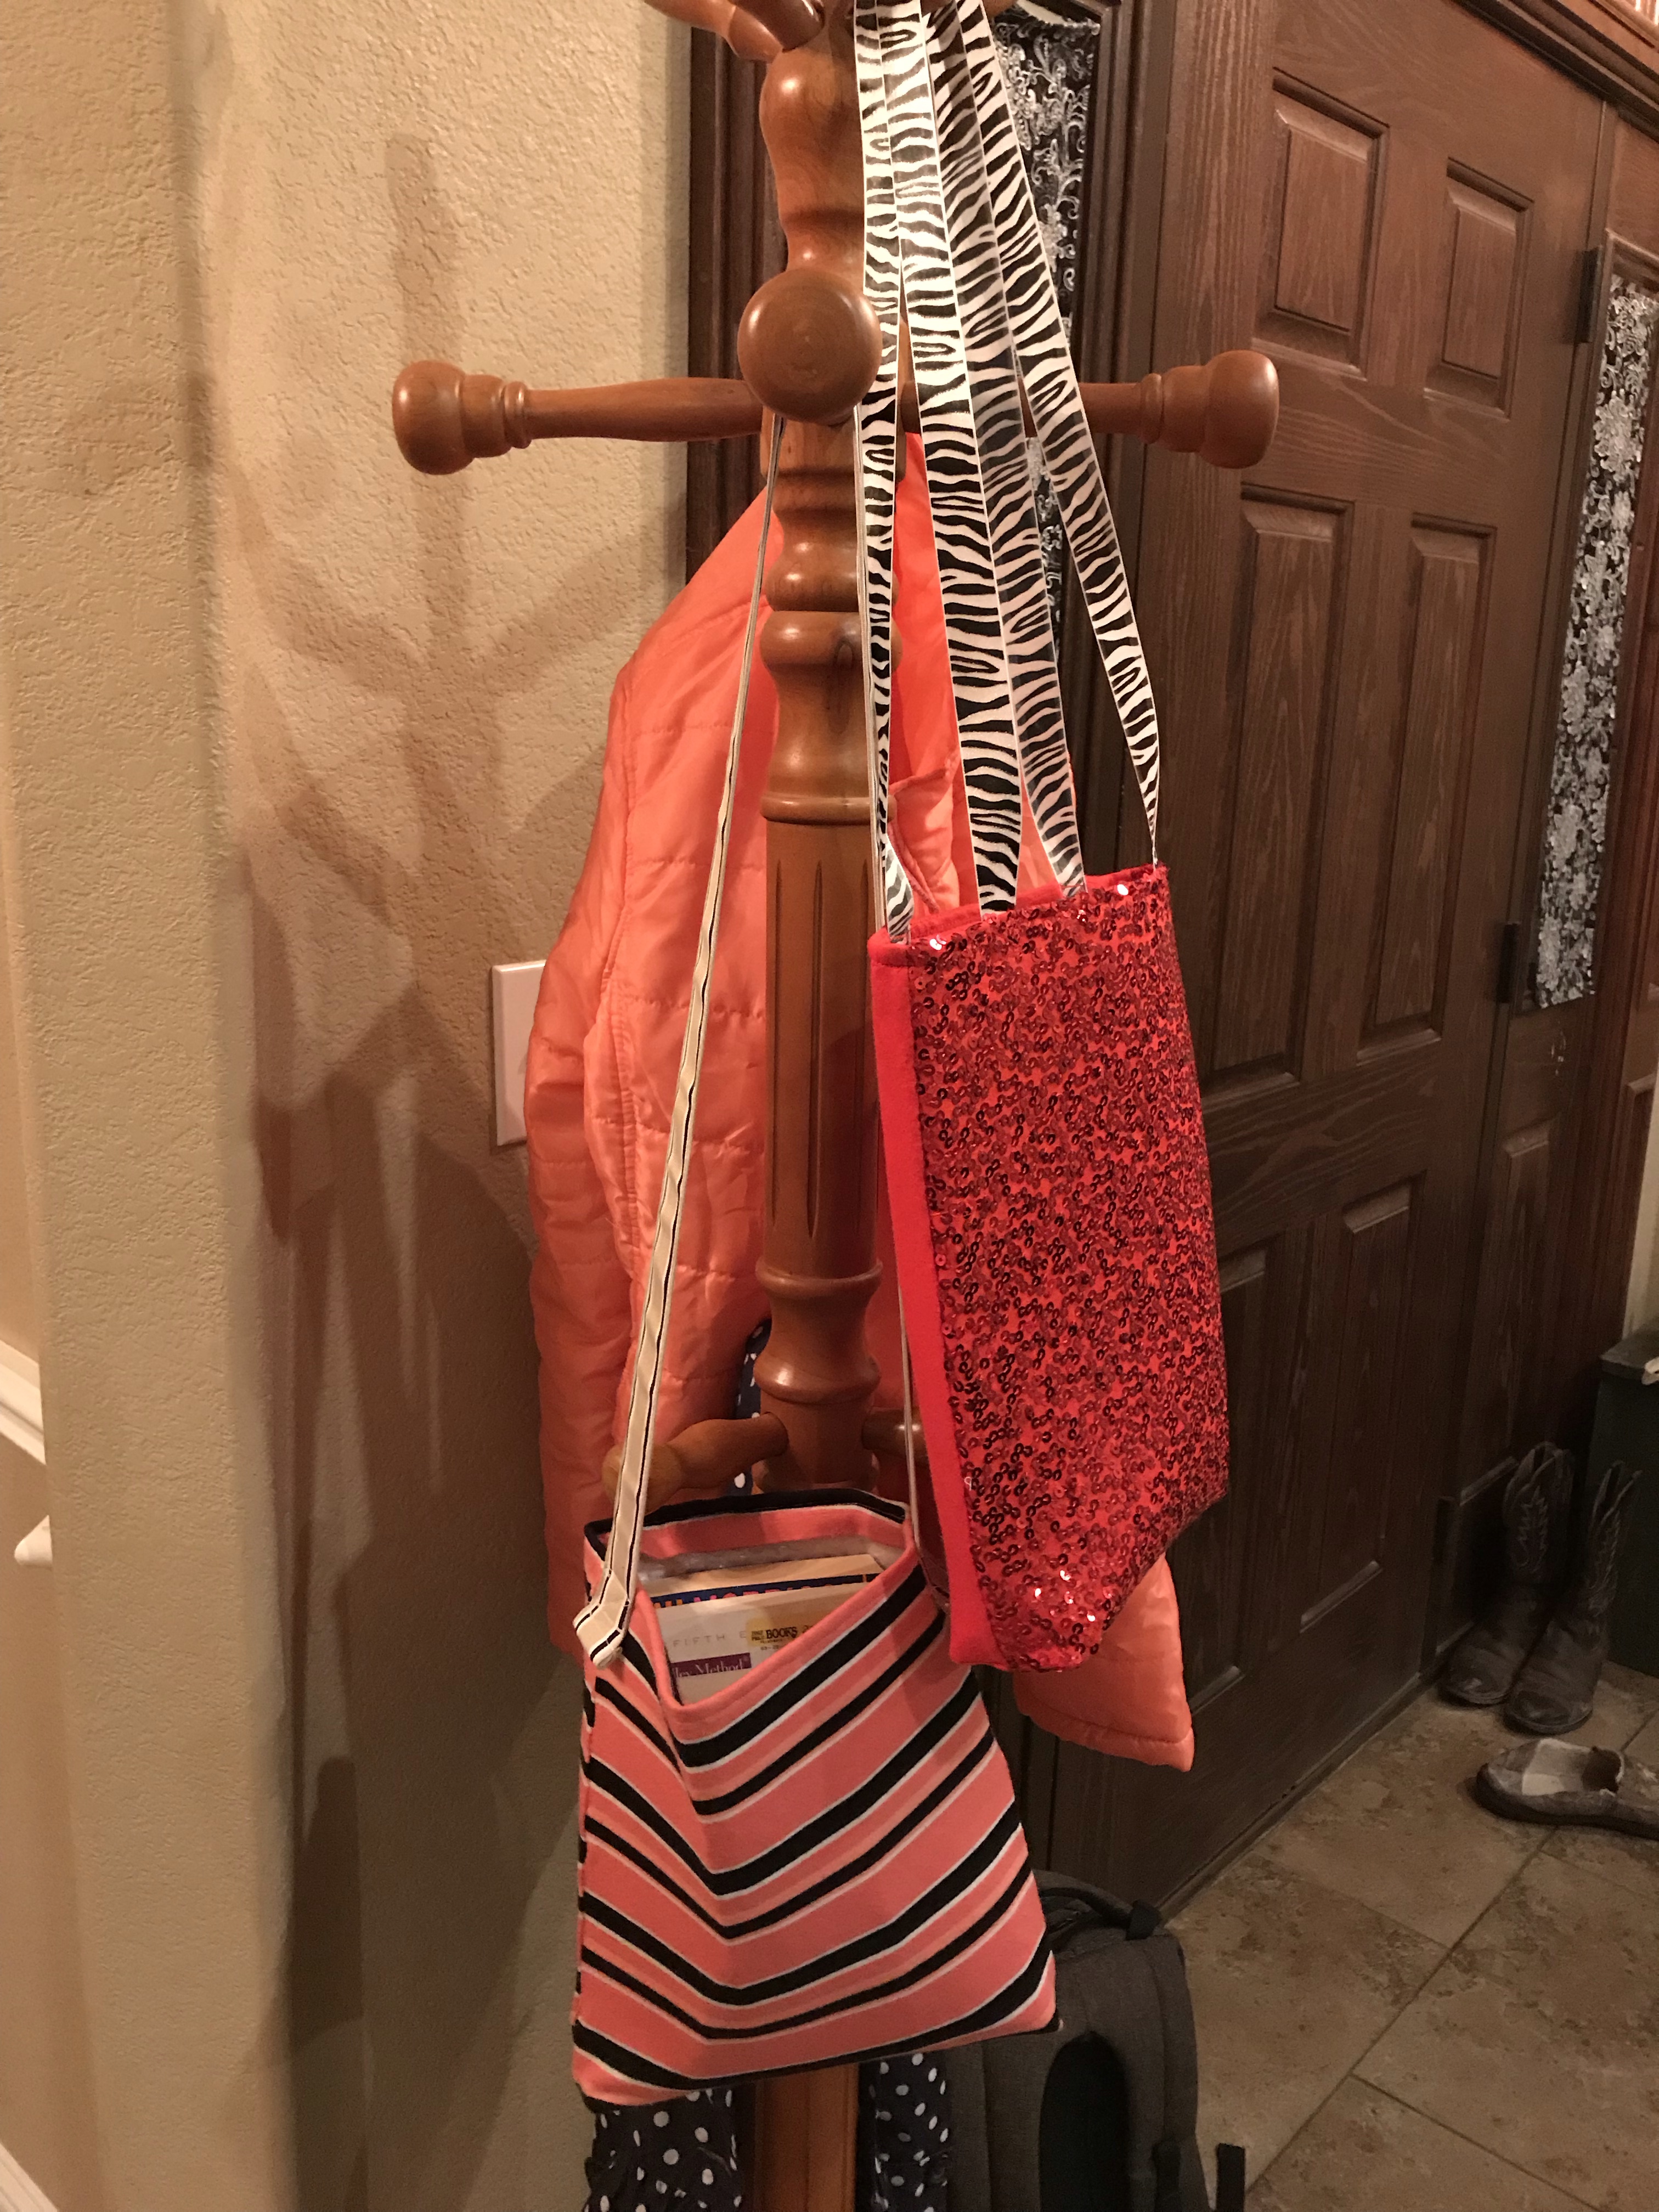
I left my belt pretty long so this can be a crossbody bag. You can change the length or even cut the belt in half and make two short straps by attaching them to the faces instead of the sides. The key is to back over these stitches multiple times. I’m talking run over them again and again and again. Make sure those straps are secure. I like to make a box and at least one line from corner to corner, normally a full X through the box, but my machine was having a hard time running through all of it.
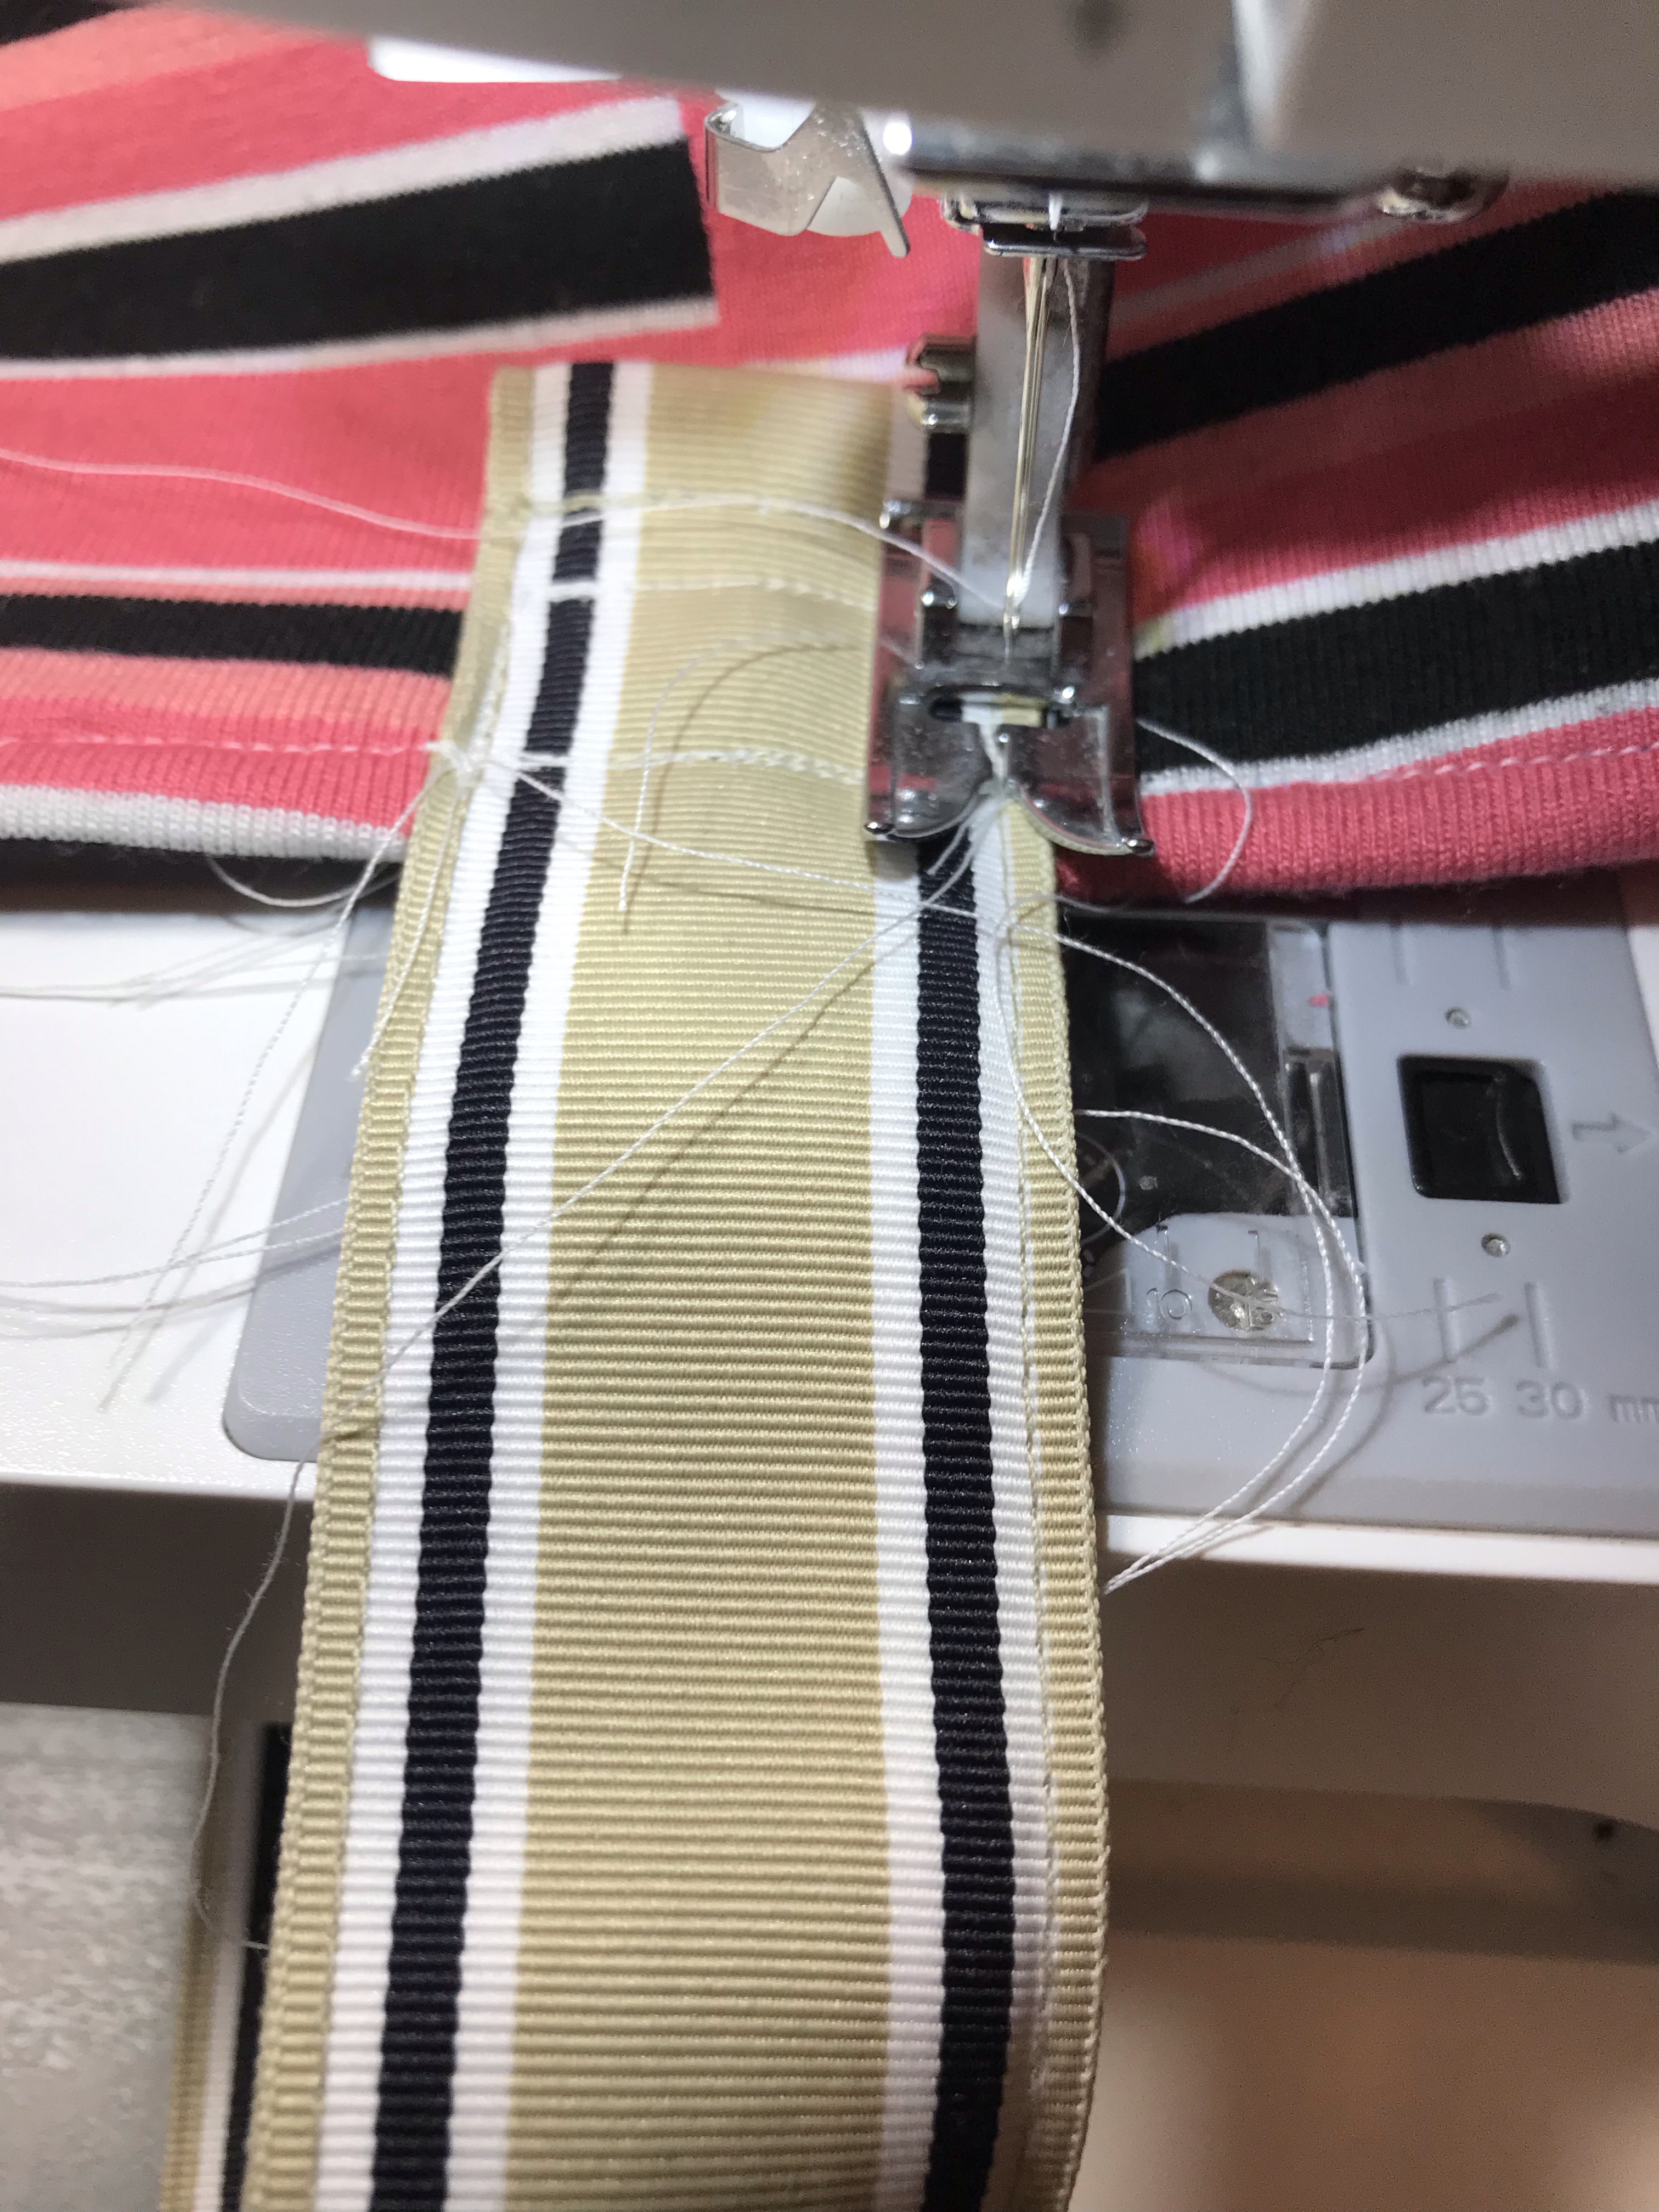
If you need to stop, cut the thread, and start again, do it! I have lots of threads all over the place from starting and stopping, but I’m making sure to go over it plenty so it is secure and won’t fall apart when there are books in the bag. When you feel really good about the strap, trim up all your little threads and show the world the cool thing you just made!
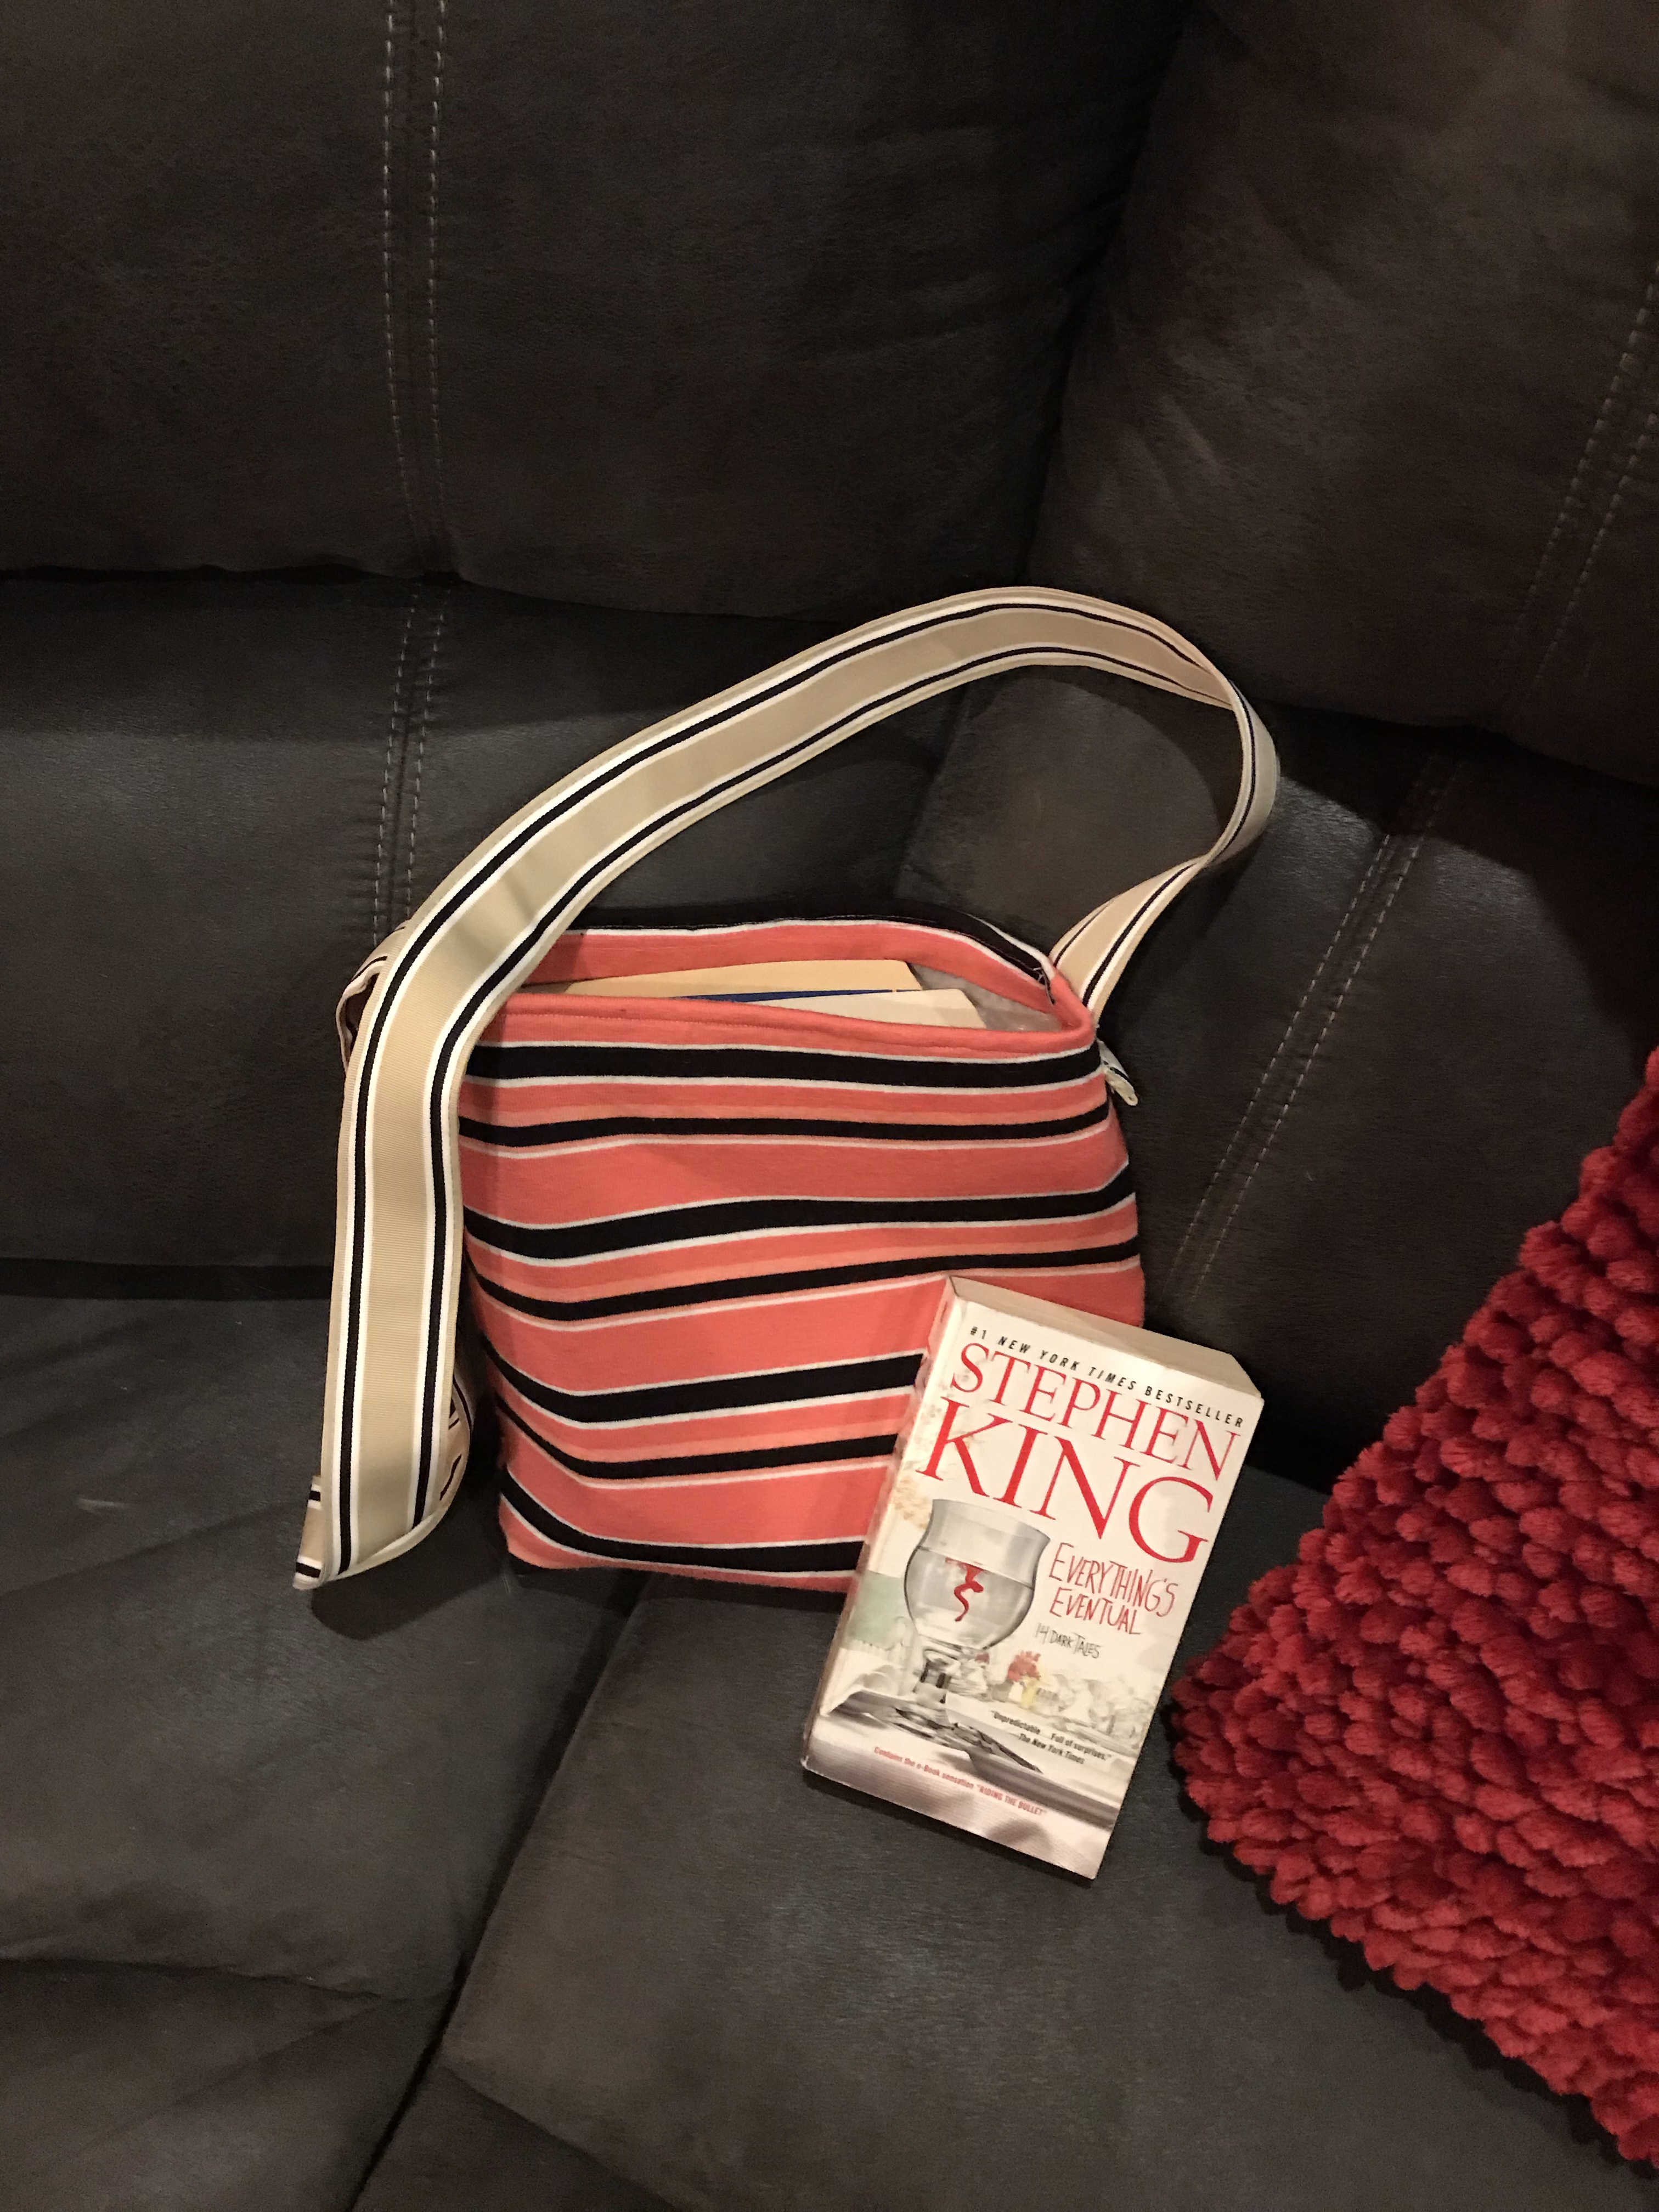
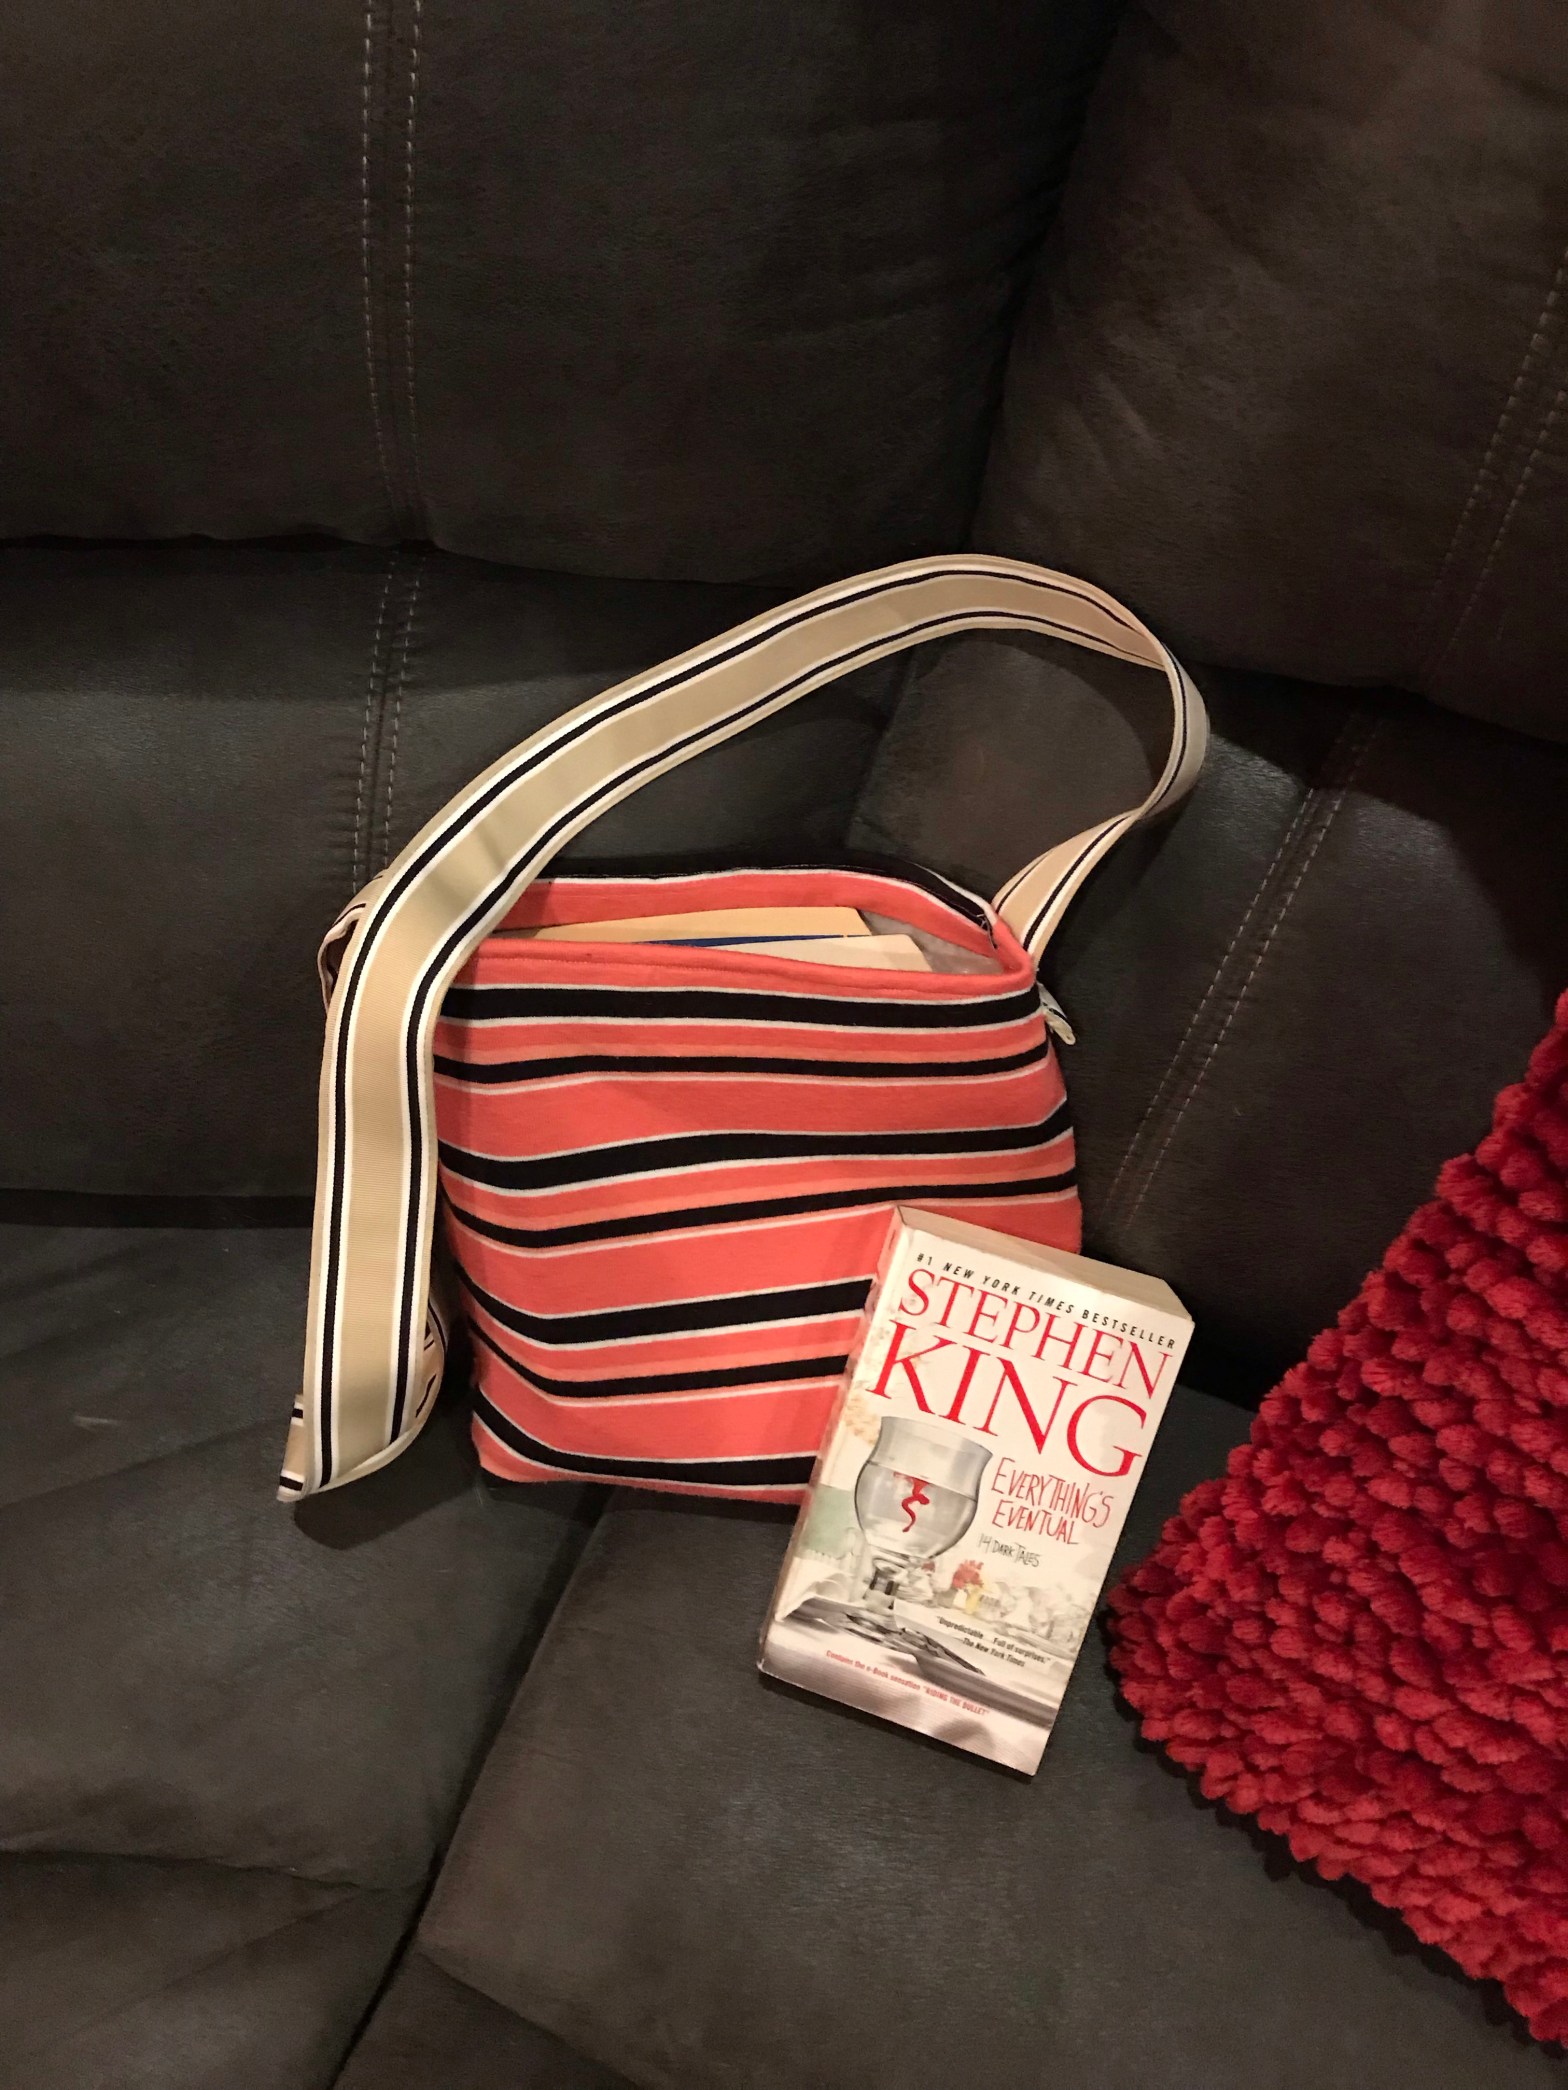
This mailer was on the smaller side and I trimmed the top down, but three paperback books fit with room. This will make a phenomenal gift for someone if you through in a new book, sketch pad, coloring book and new pencils perhaps. And completely customizable. You can add Velcro or a button for a closure or even get crazy and add a flap to one side to throw over the top and cover it. It is such a simple piece that can be transformed into so many different options for everyone. Have fun with it!
Send me your ideas or pictures of what you have done.
Check out some of my other items on Facebook!
You can also email me for orders at secondtotfashions@gmail.com if you just aren’t that into diy, but still love the idea!